

How I made my first short film (part I)
As I publish this, I just submitted a mini documentary to the 2019 Moment Invitational Film Festival. It is the first time I make a short film of any kind, and I’m quickly falling in love with the process, which is why I want to share the details of how it was made.
This serves both as a future reference to myself as well as a glimpse to what kind of work goes behind the scenes. Many of these things will be surprising to some people, while experienced filmmakers might notice obvious errors or missing pieces in the process. By no means should you consider this a treatment on filmmaking or a step-by-step guide, but I do want to convey the overwhelming nature of how much work it is required to make a film come alive, however short.
There are technical terms mentioned here. Most of them will have links so you can go and learn what they’re about if you’re not familiar with them.
Foreword
I’ve been intrigued by the genre of documentaries for a few years, but I never took the time to make one until now. I bought a book about documentaries back in 2011, and I’ve looked at parts of it, which probably gave me more discouragement than energy, as filmmaking in general is tremendously time consuming and requires people with a wide variety of areas of expertise.
When the Moment Invitational was announced a month ago, I was attracted by their requirement of using cameras from phones only. My first reaction was that this would greatly limit my possibilities, and with a reduced scope, I said go for it.
In retrospect, filming with a phone limits the possibilities only slightly, and in fact offers many that are not available with bigger cameras, such as tricky shots in small spaces. Still, the other limit of the festival is 3 minutes maximum length, and this was a far more useful restriction. With a hard upper bound on duration, I wasn’t going to go crazy with the scope of the project and the story I wanted to tell.
Pre-production
Selecting the subject
The festival was announced one month before the deadline, and I was fortunate enough to know about it right away. With that in mind, the subject had to be local, so I wouldn’t have to travel far to get footage. I had a few options in mind: a marathon runner, an elite track cyclist and a violin maker.
I chose the latter only because it would be easier to film. Tracking subjects while they move (for example, shooting a training session with a runner or cyclist) is too challenging considering my lack of experience filming with a phone, where it’s already tricky enough to pull focus. In the case of the violin maker, all of the shooting can be done indoors in a much more controlled situation, which would have its own challenges anyway.
Location research
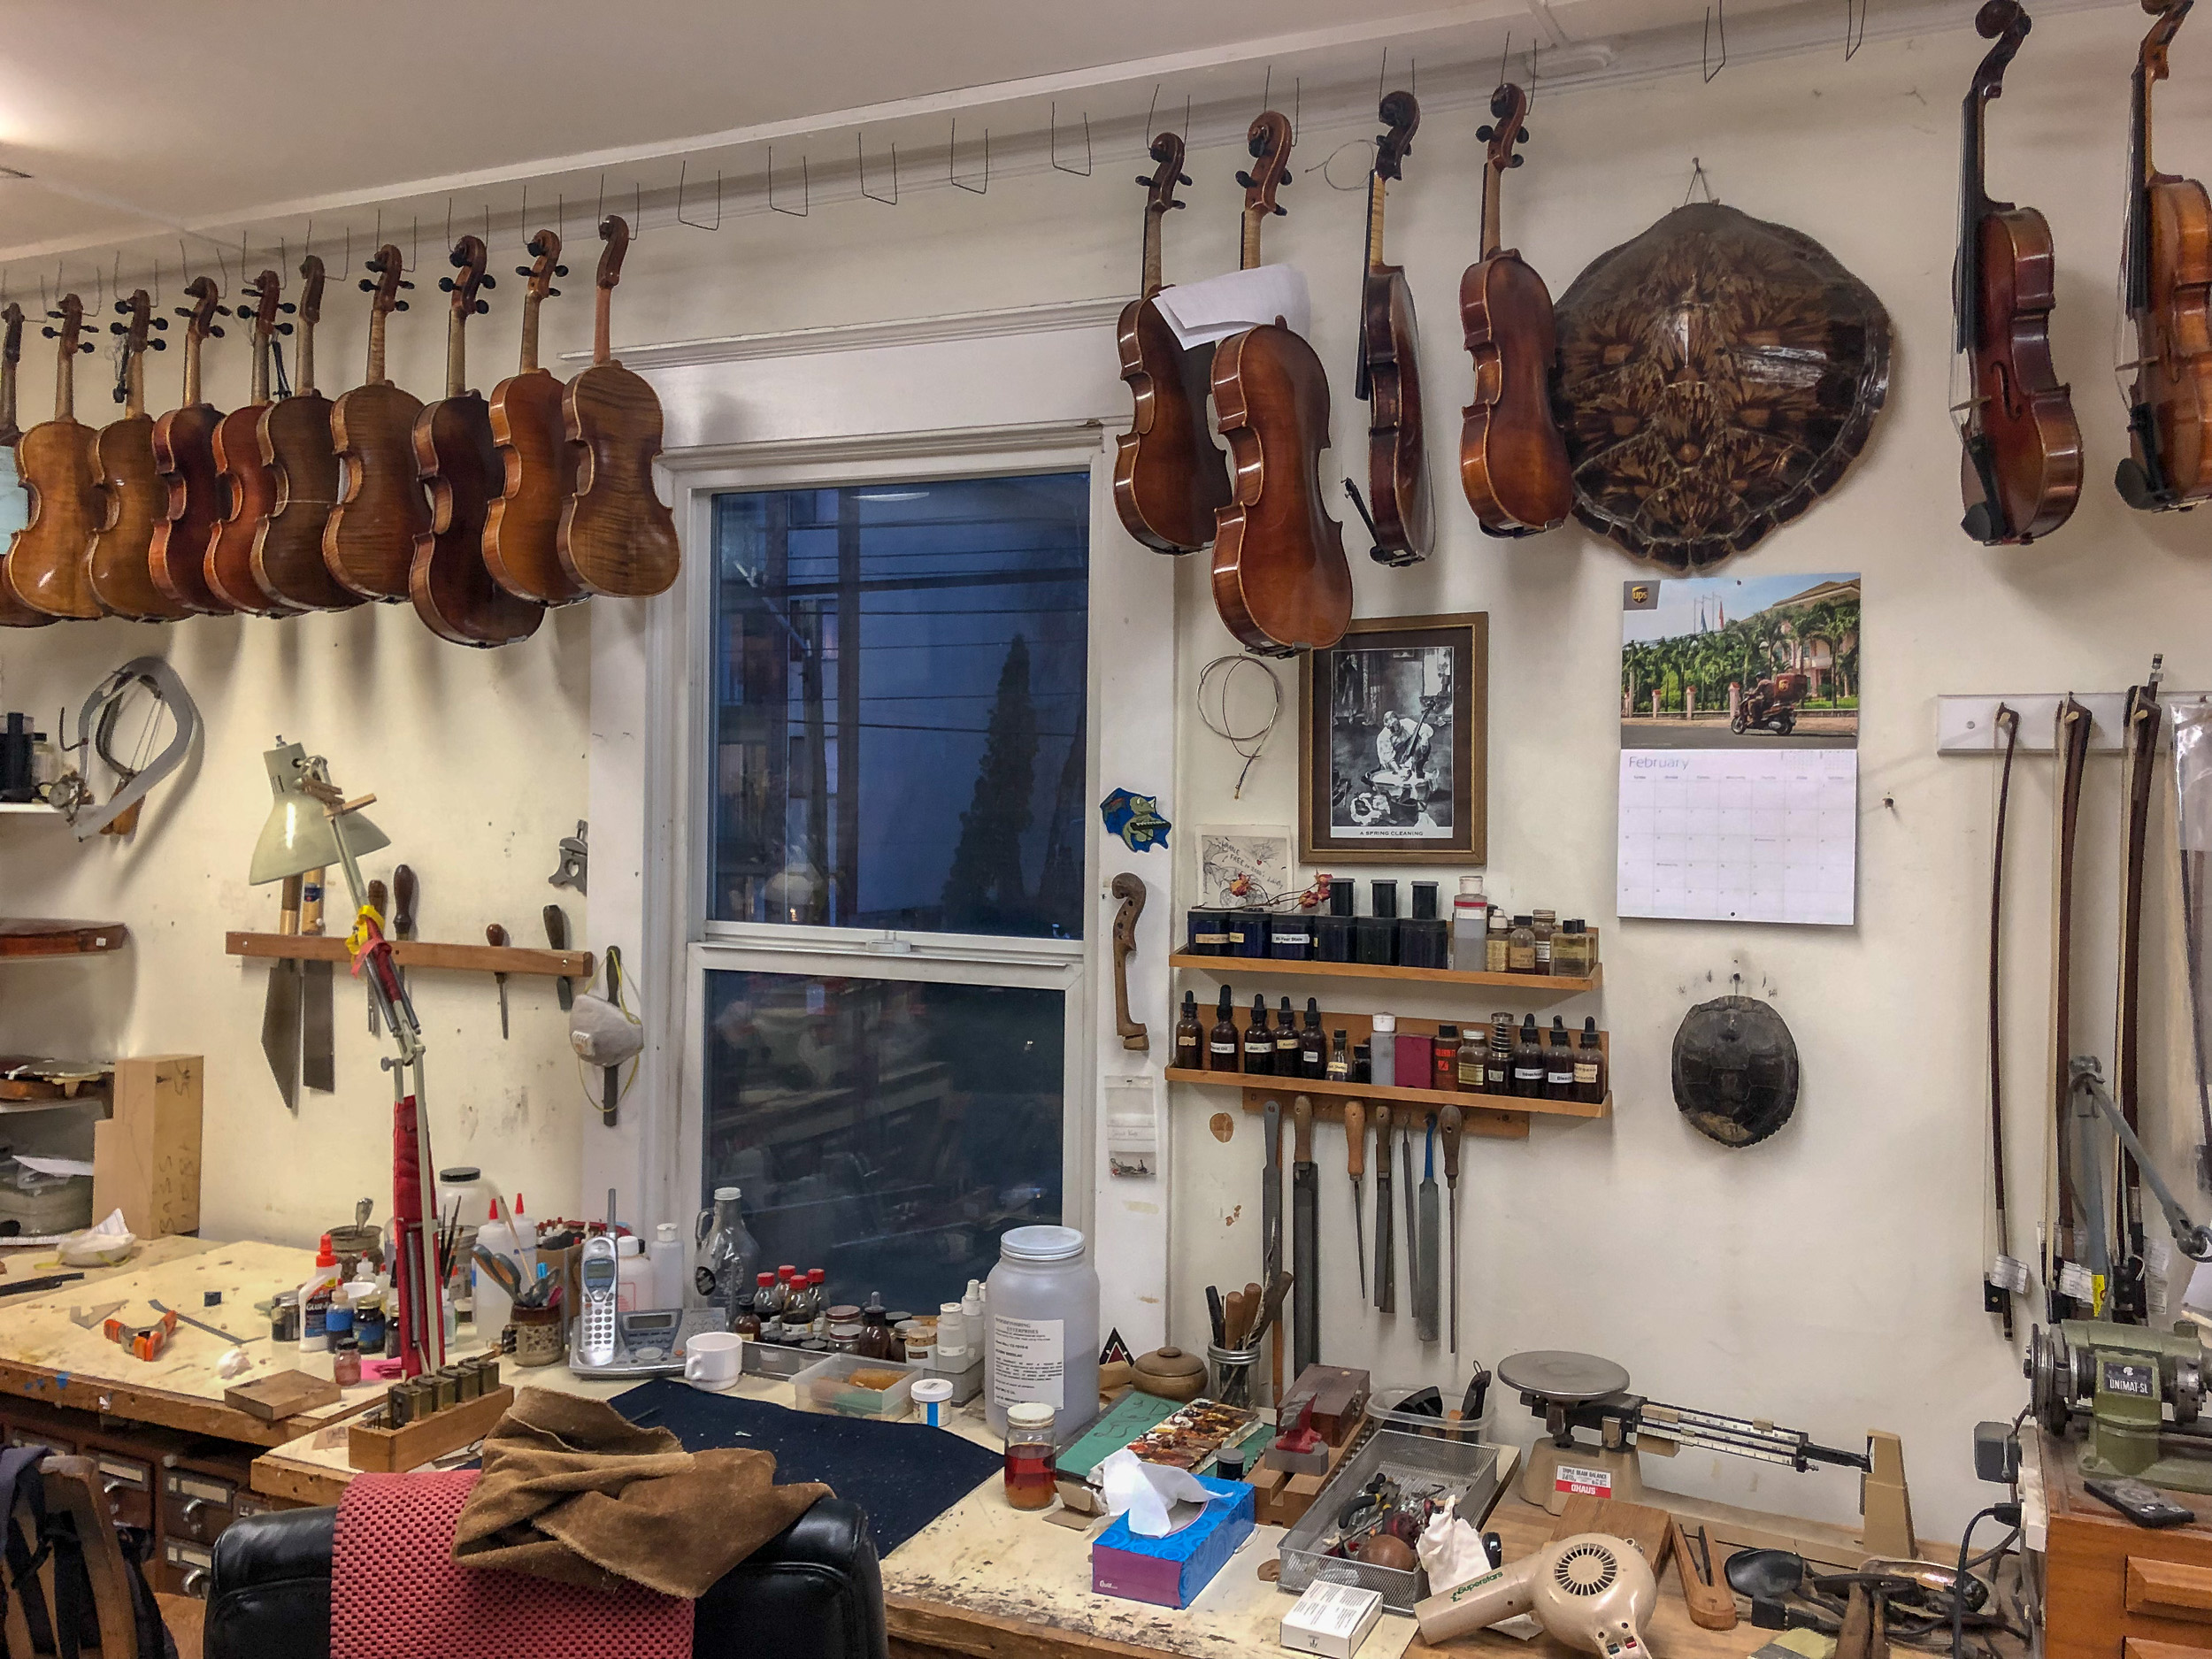
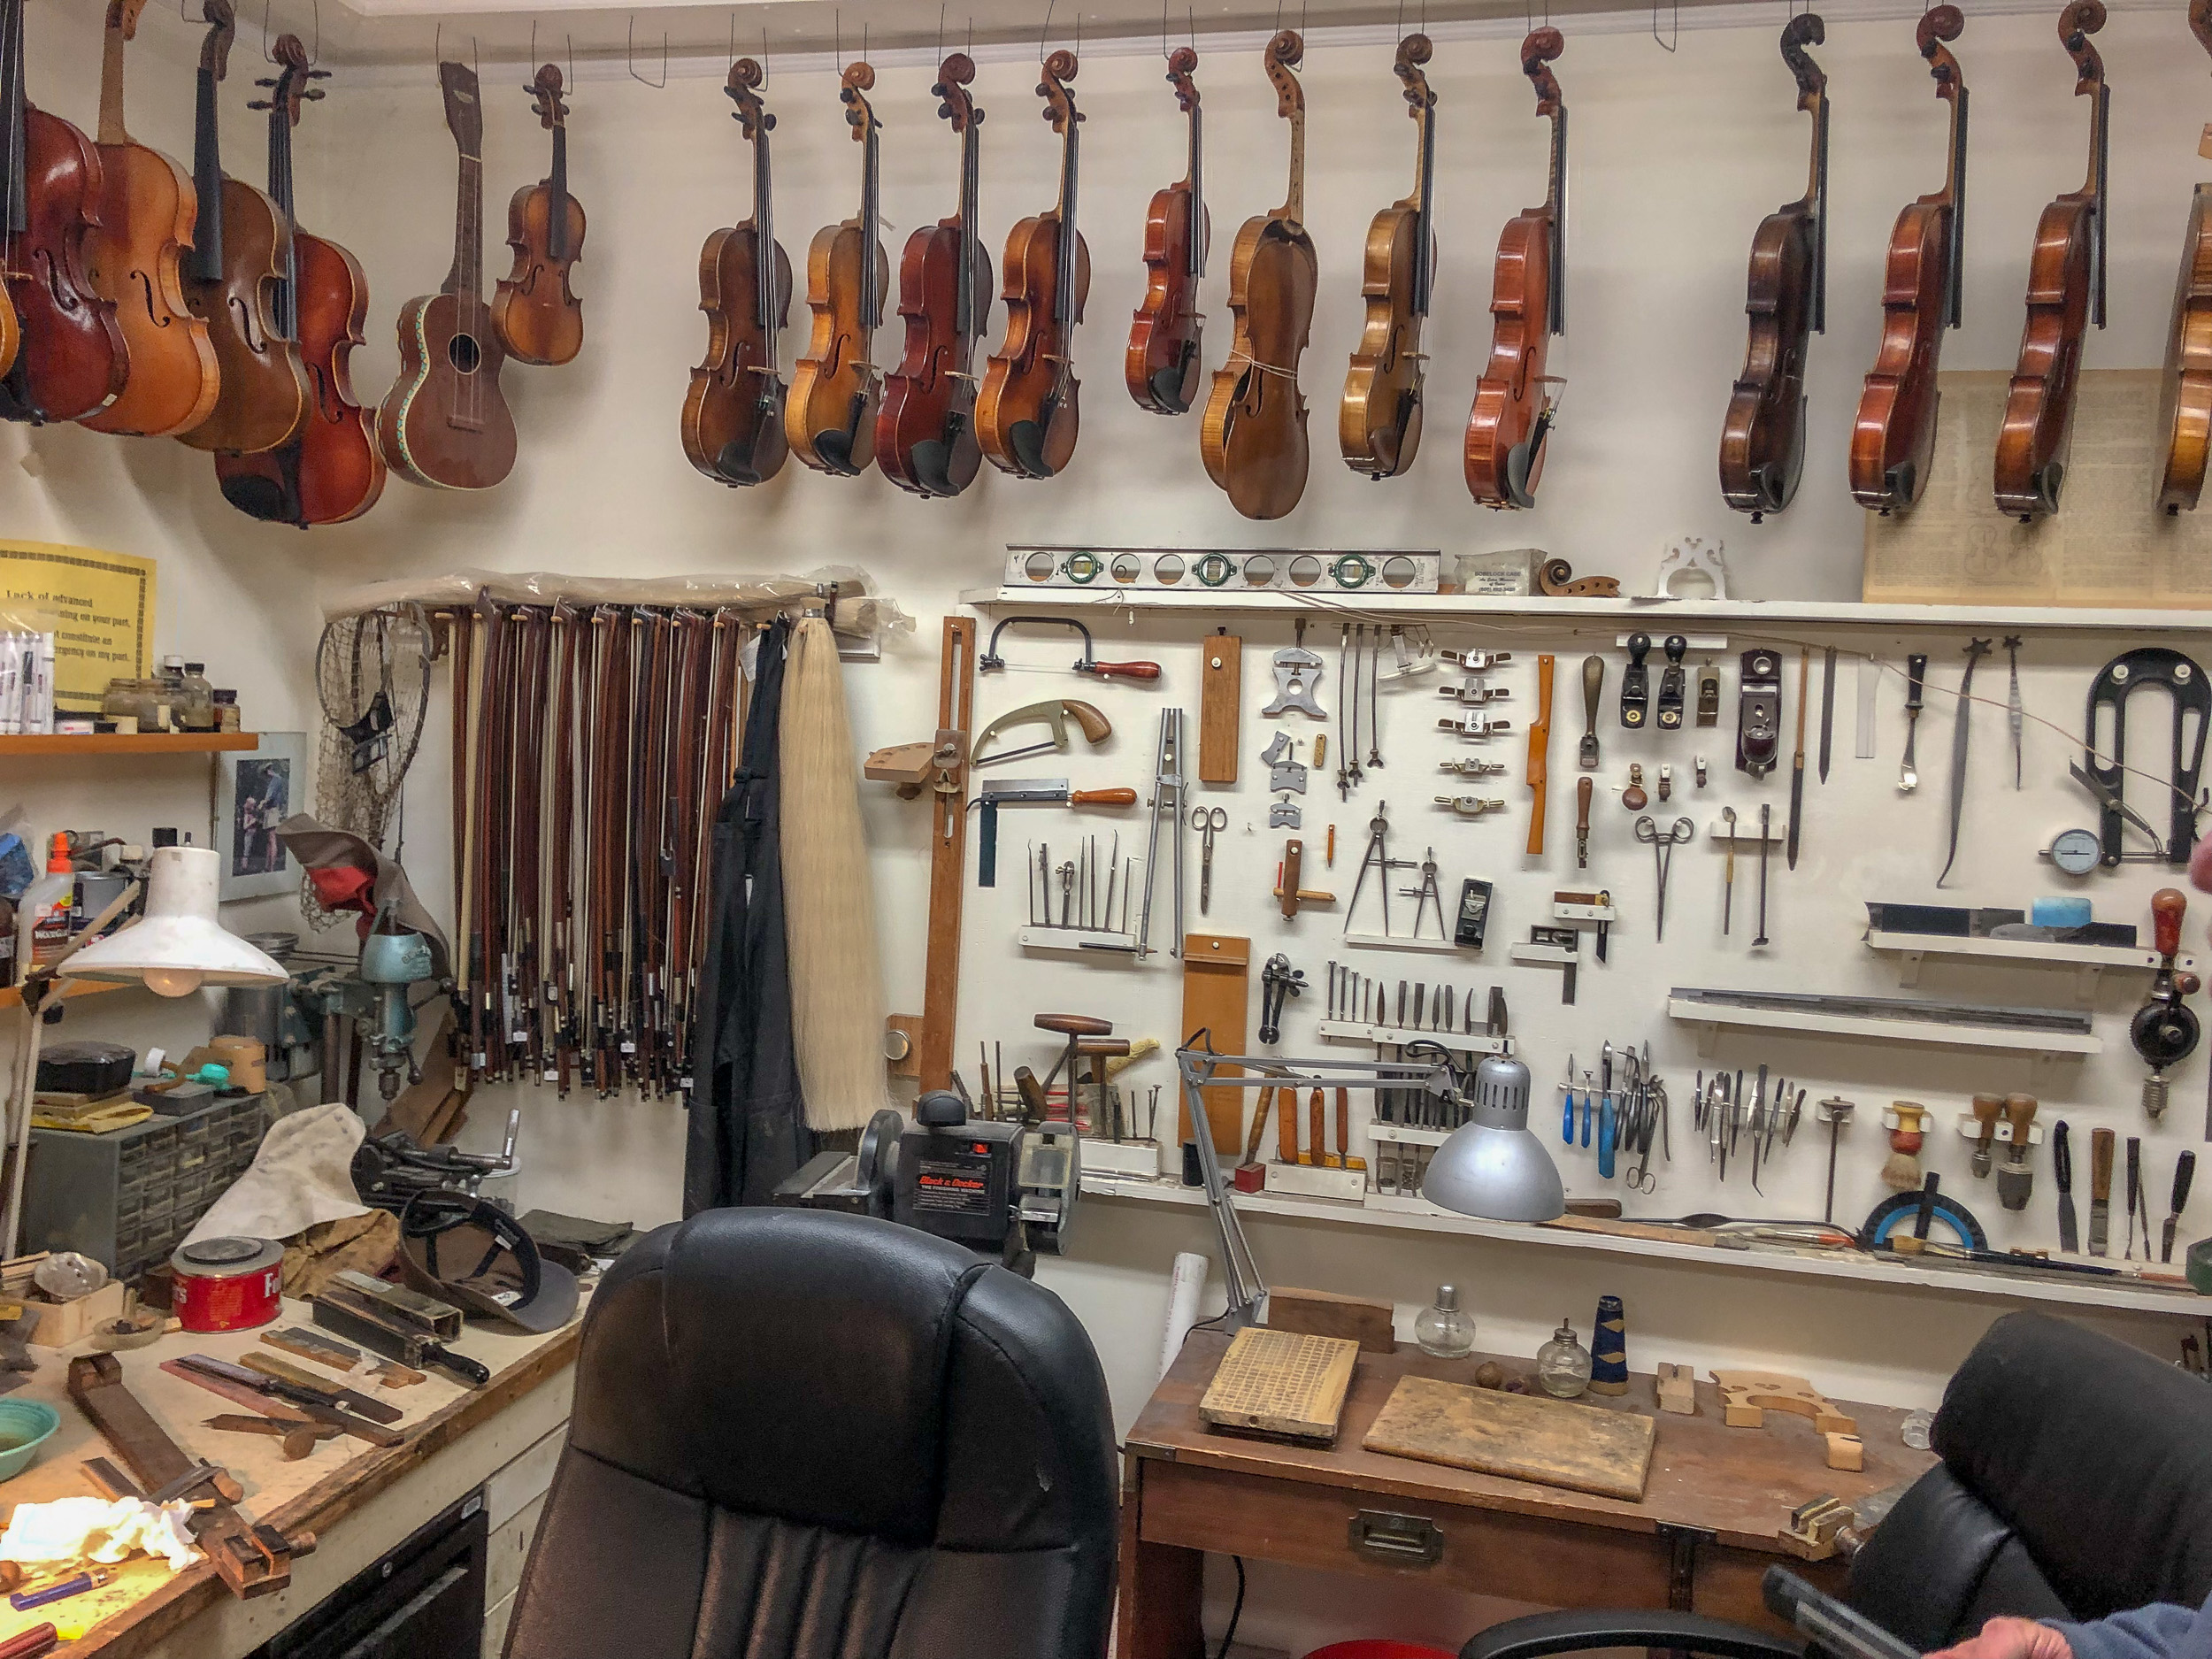
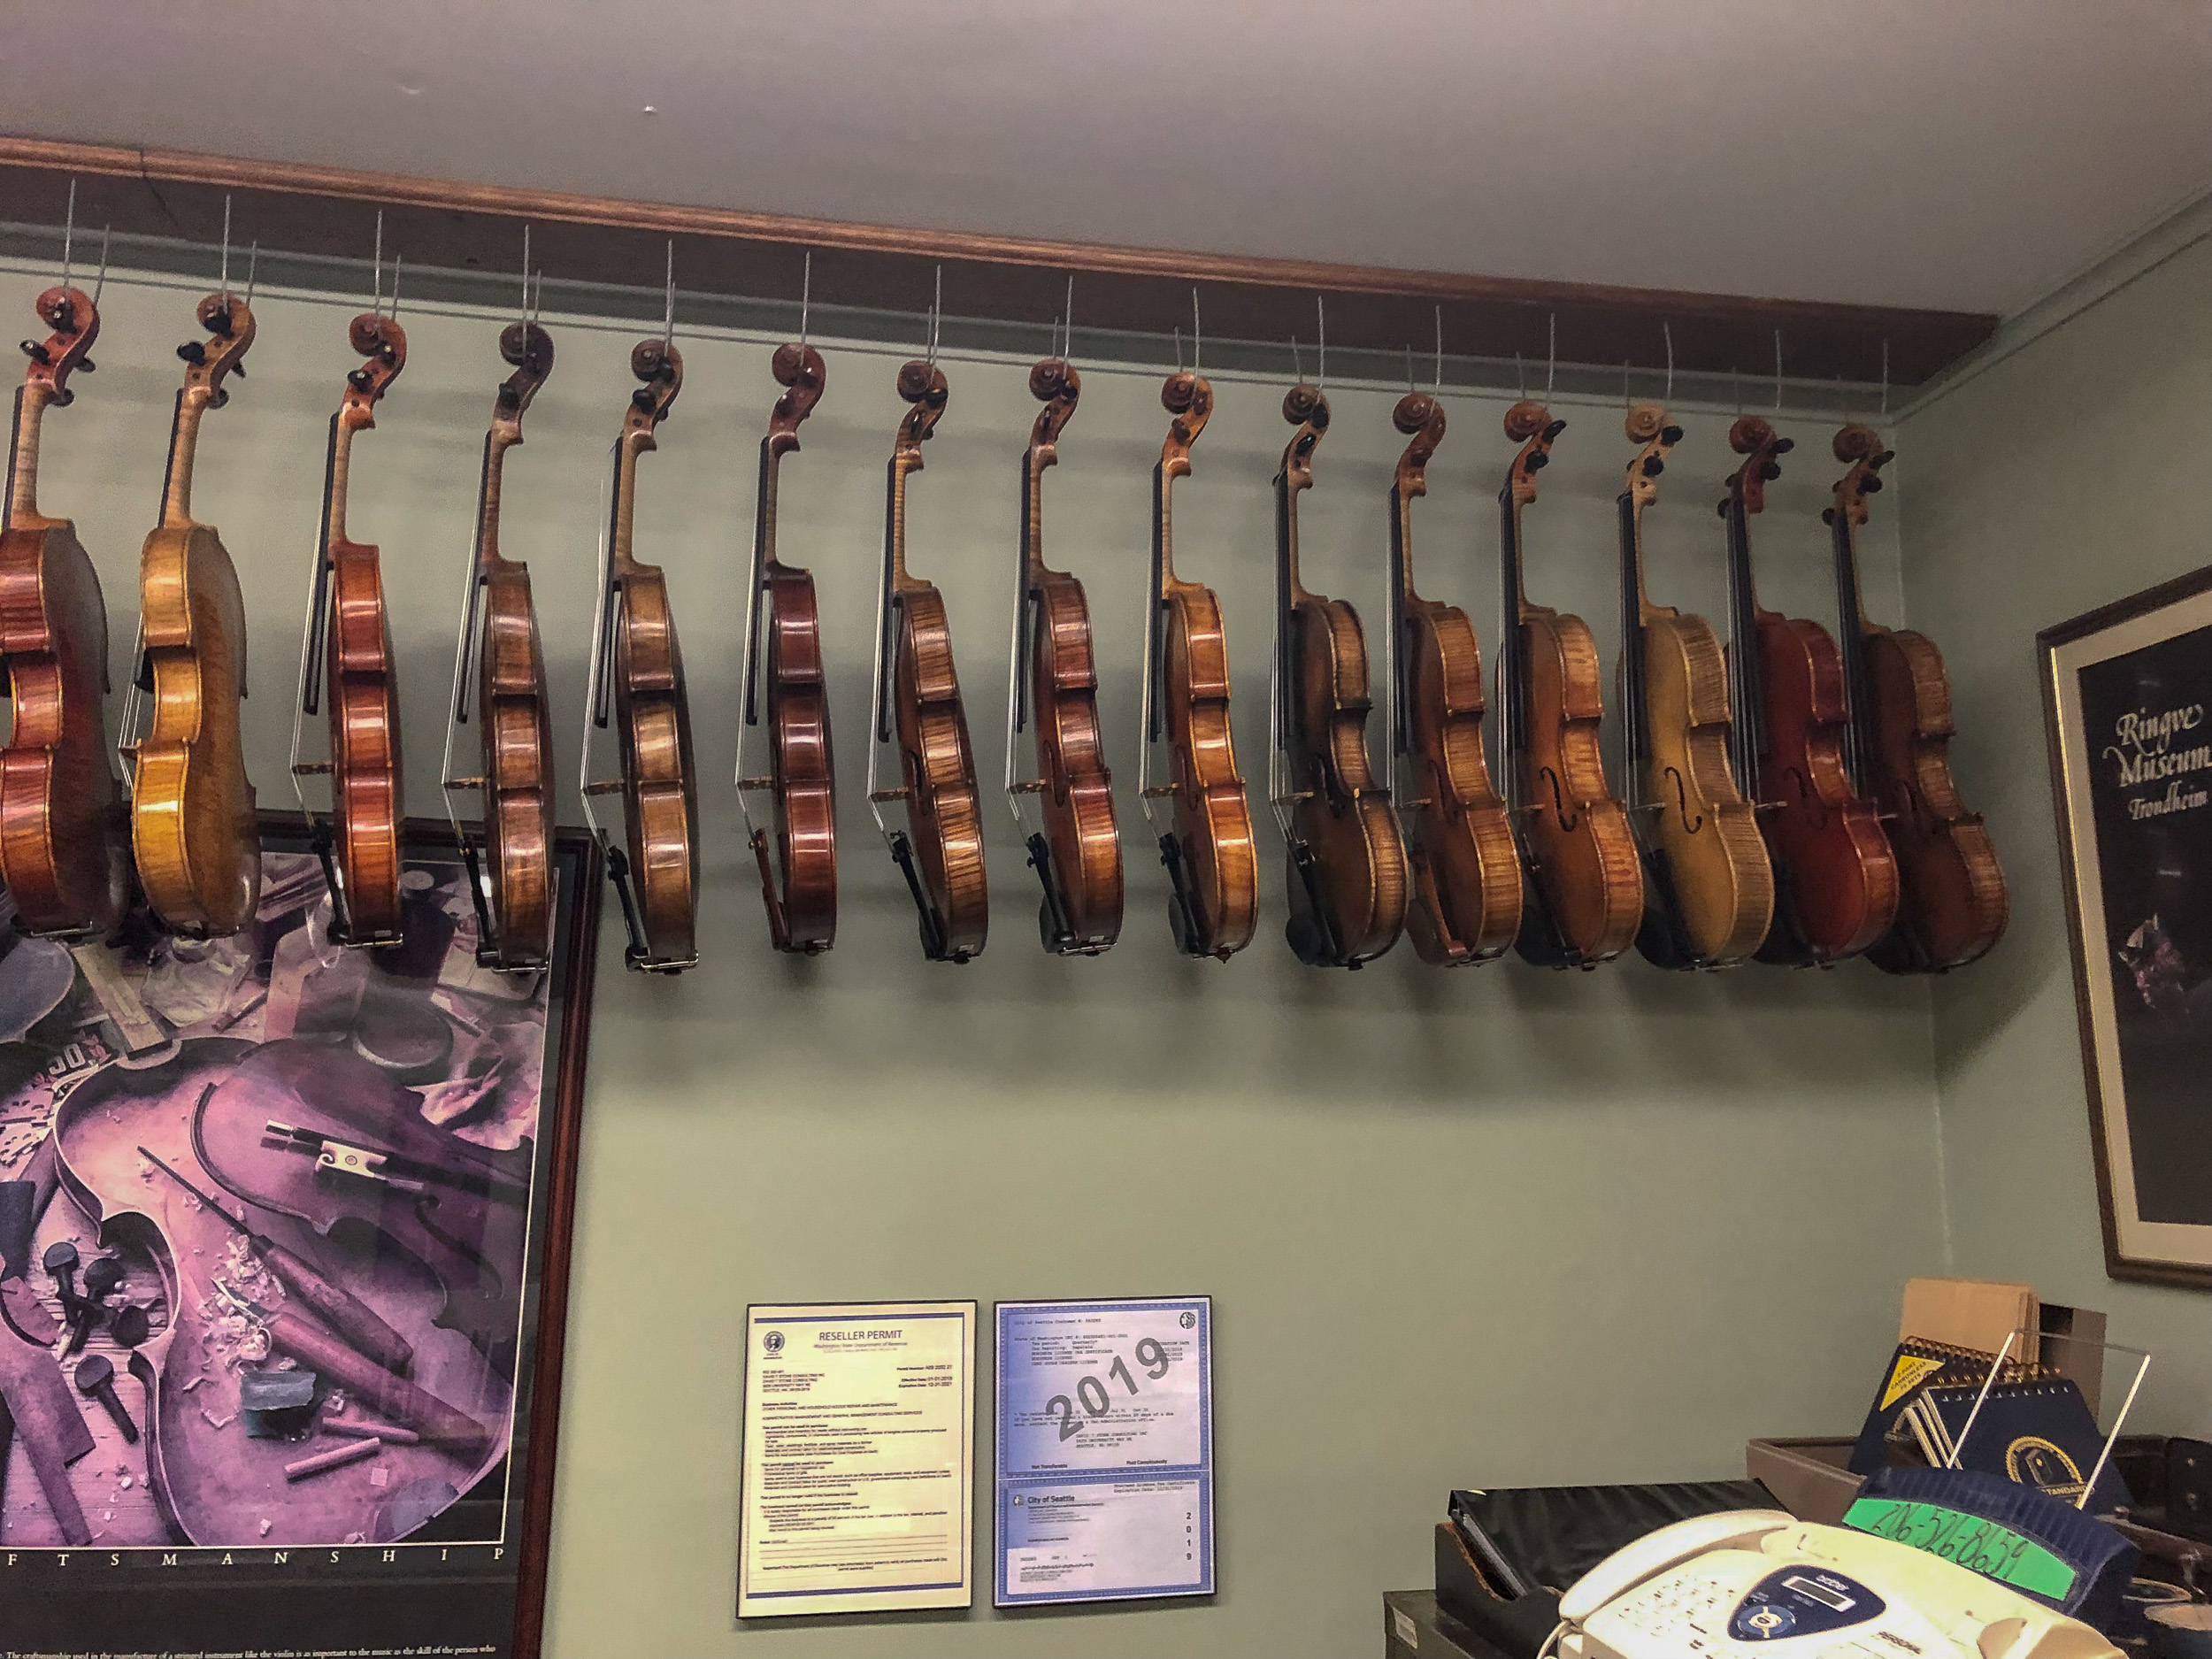
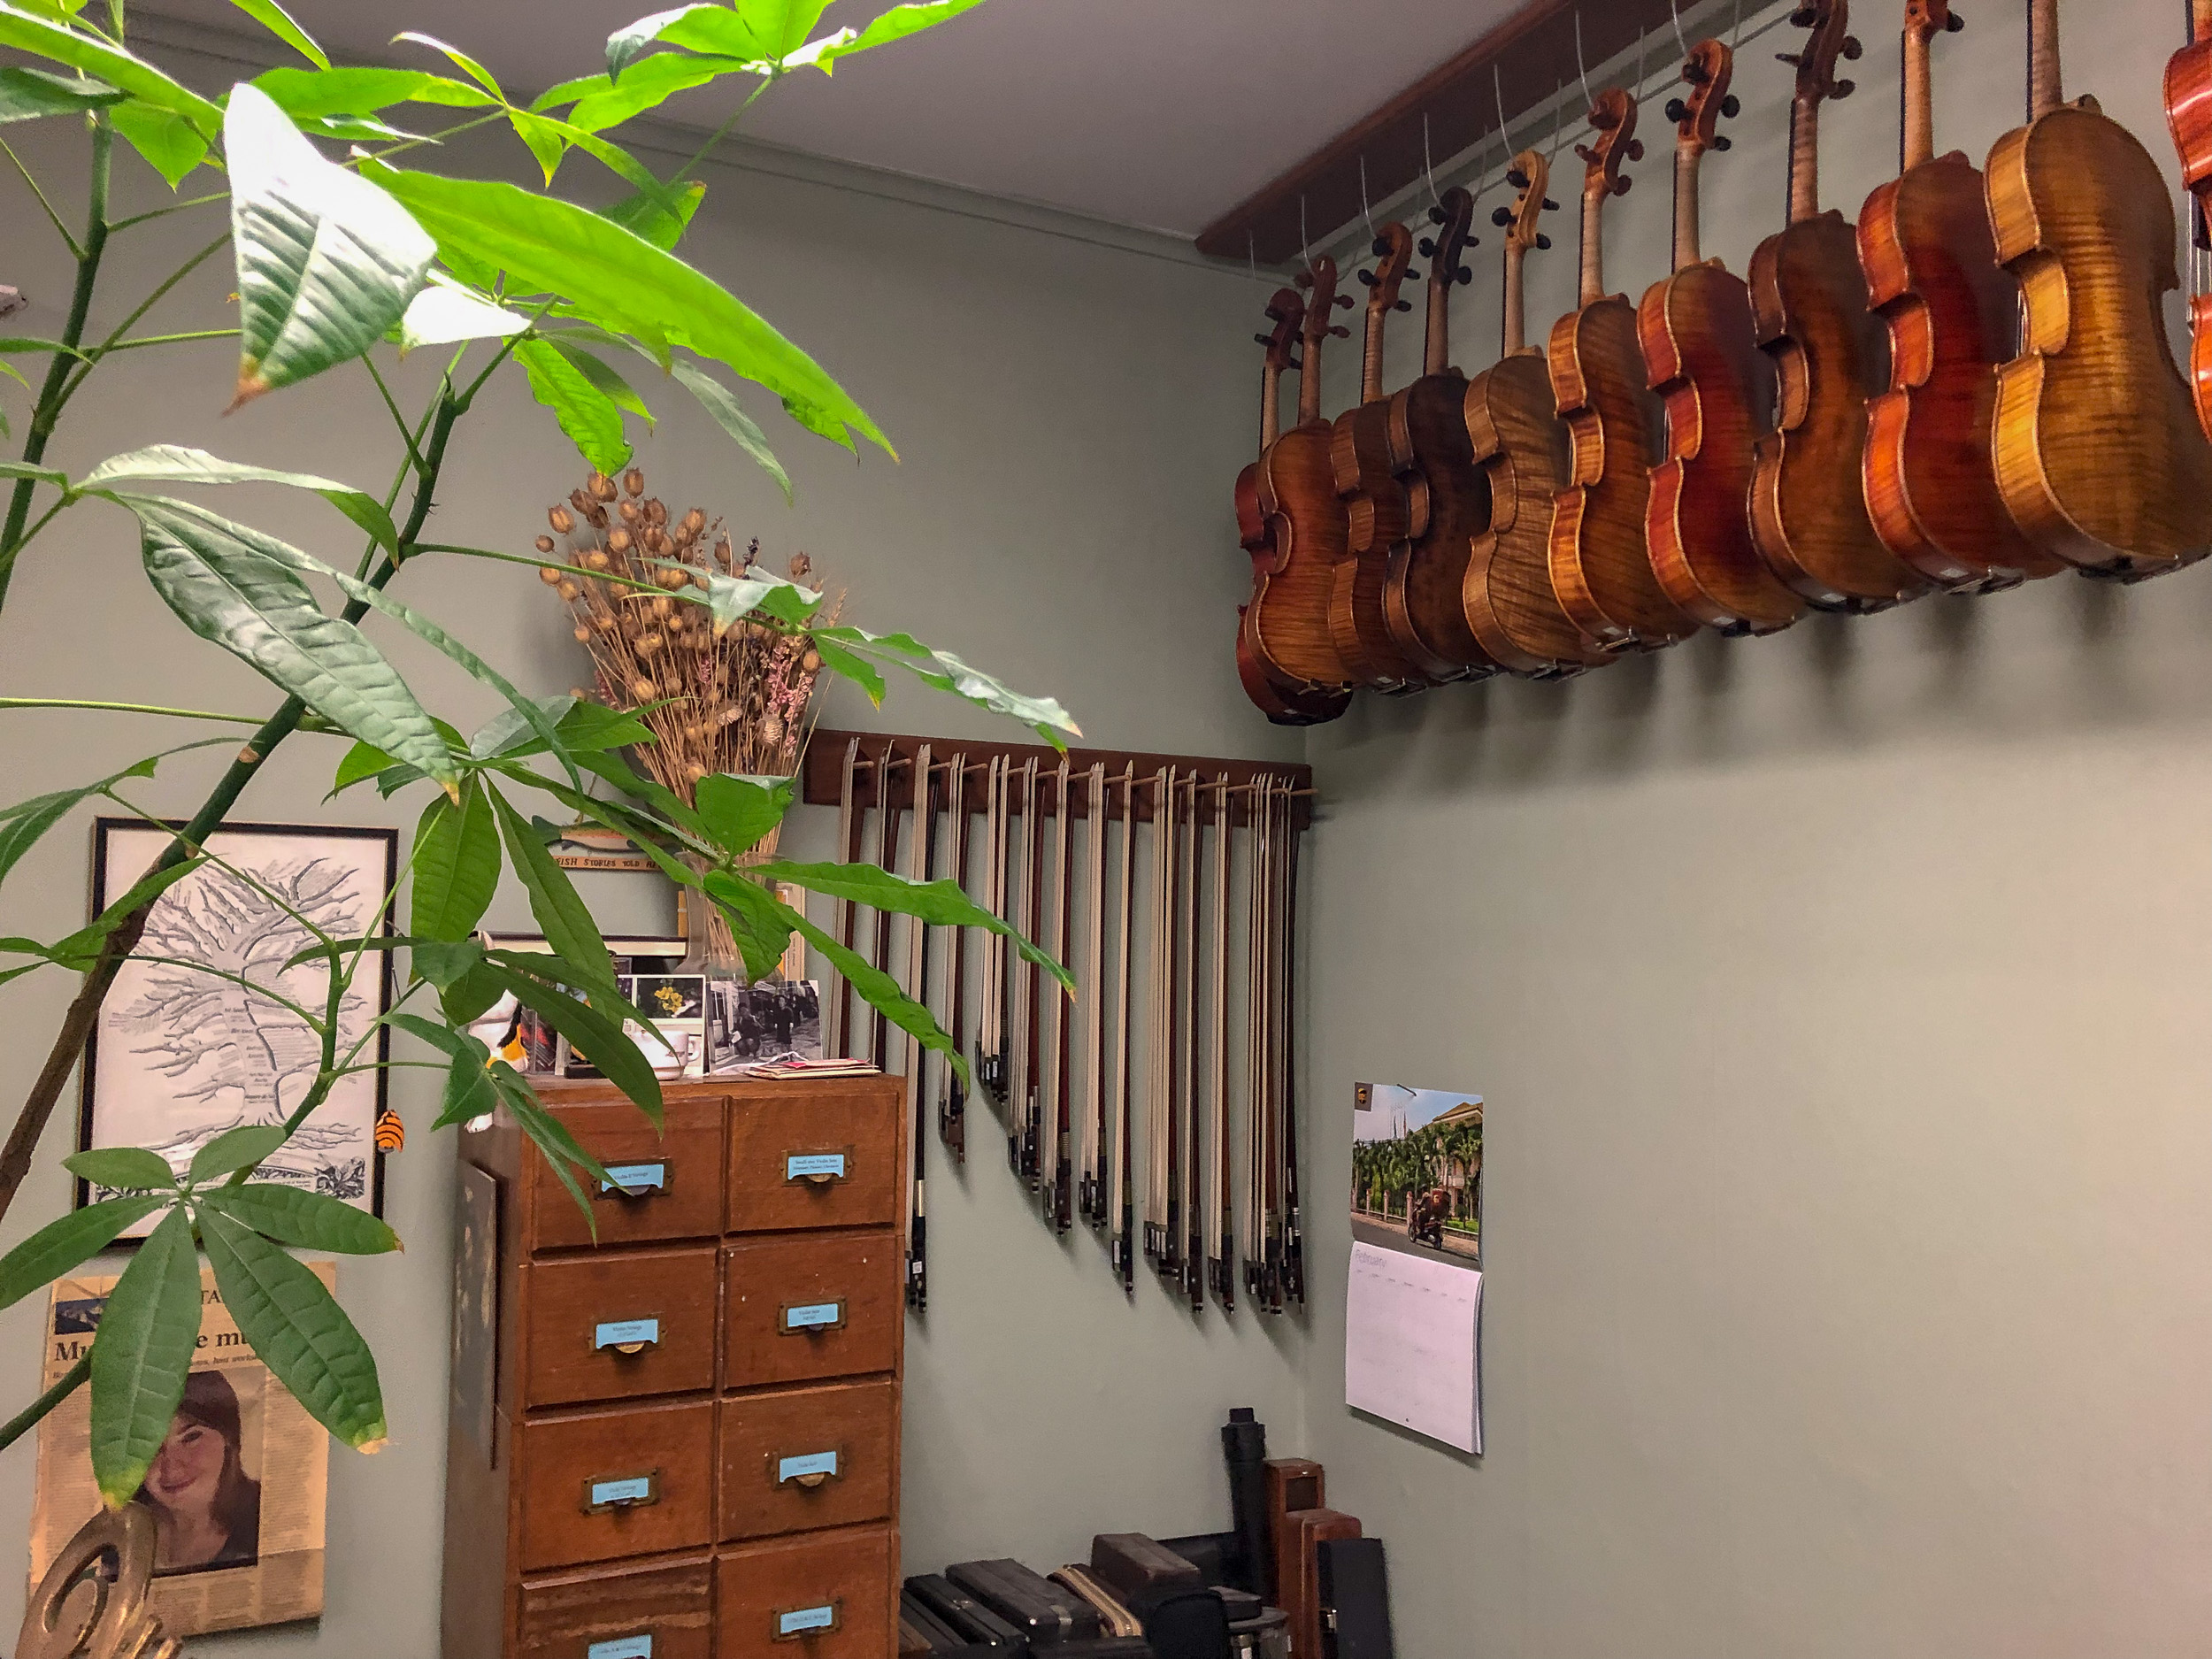
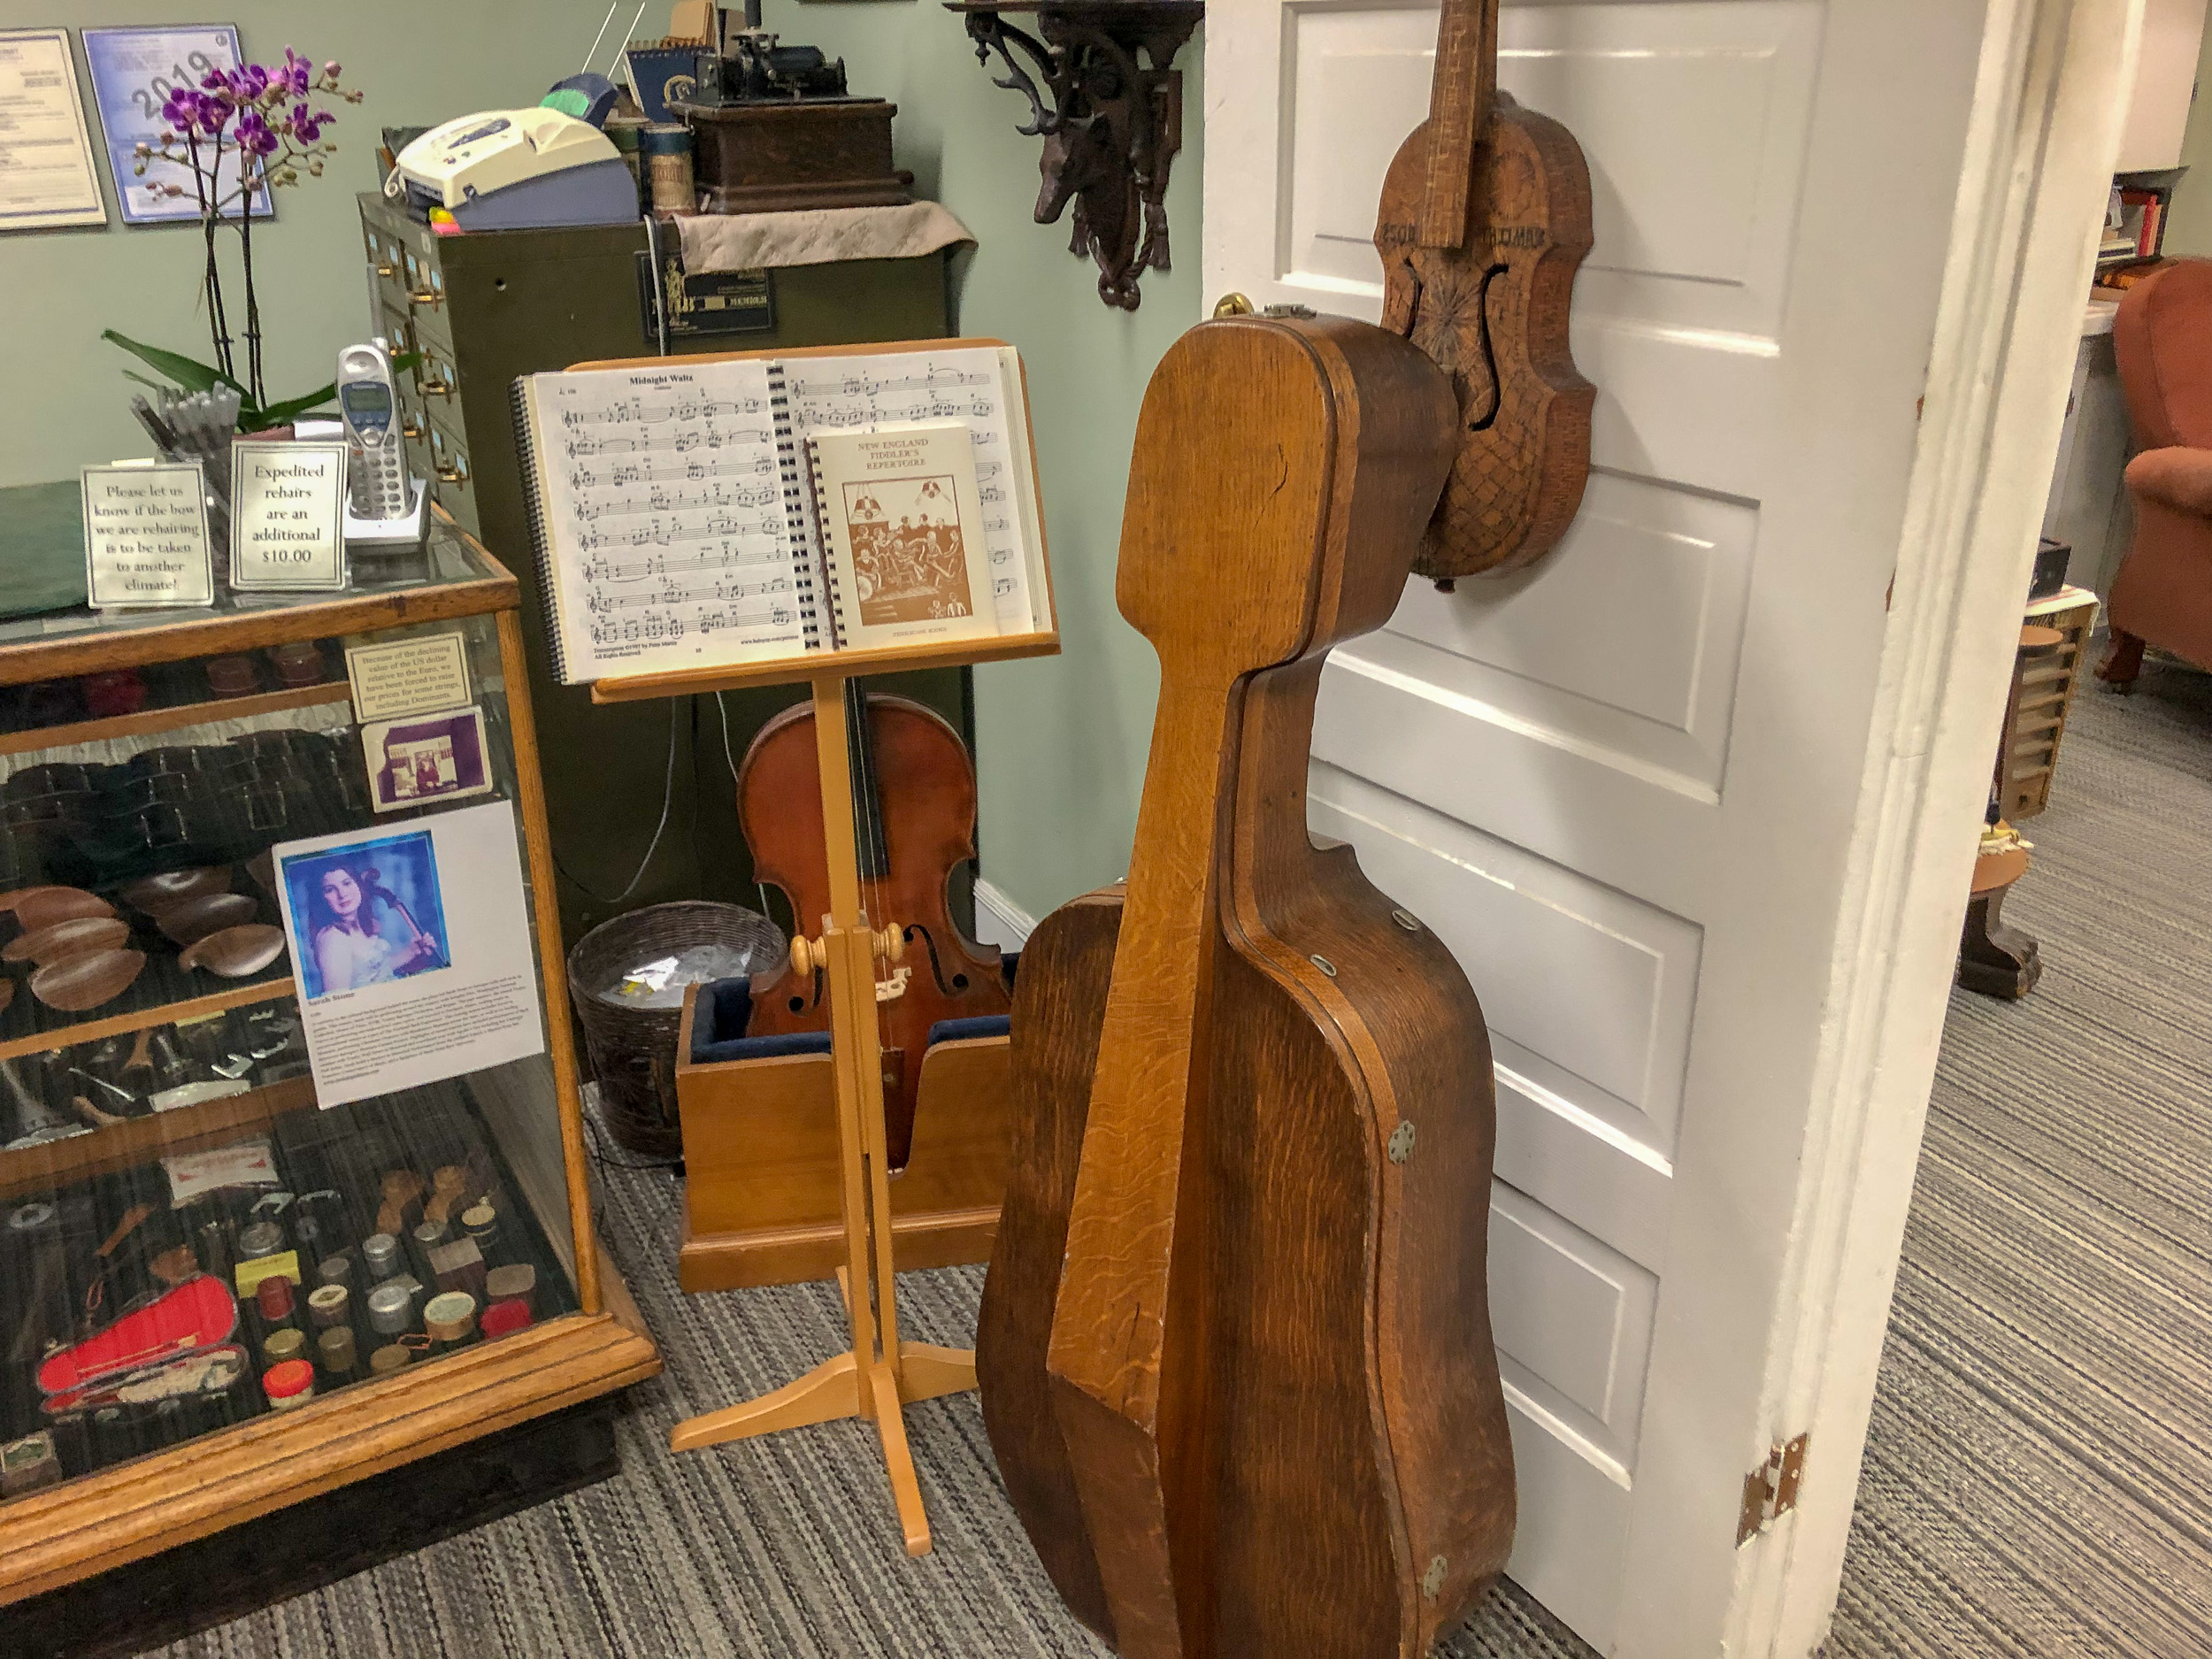
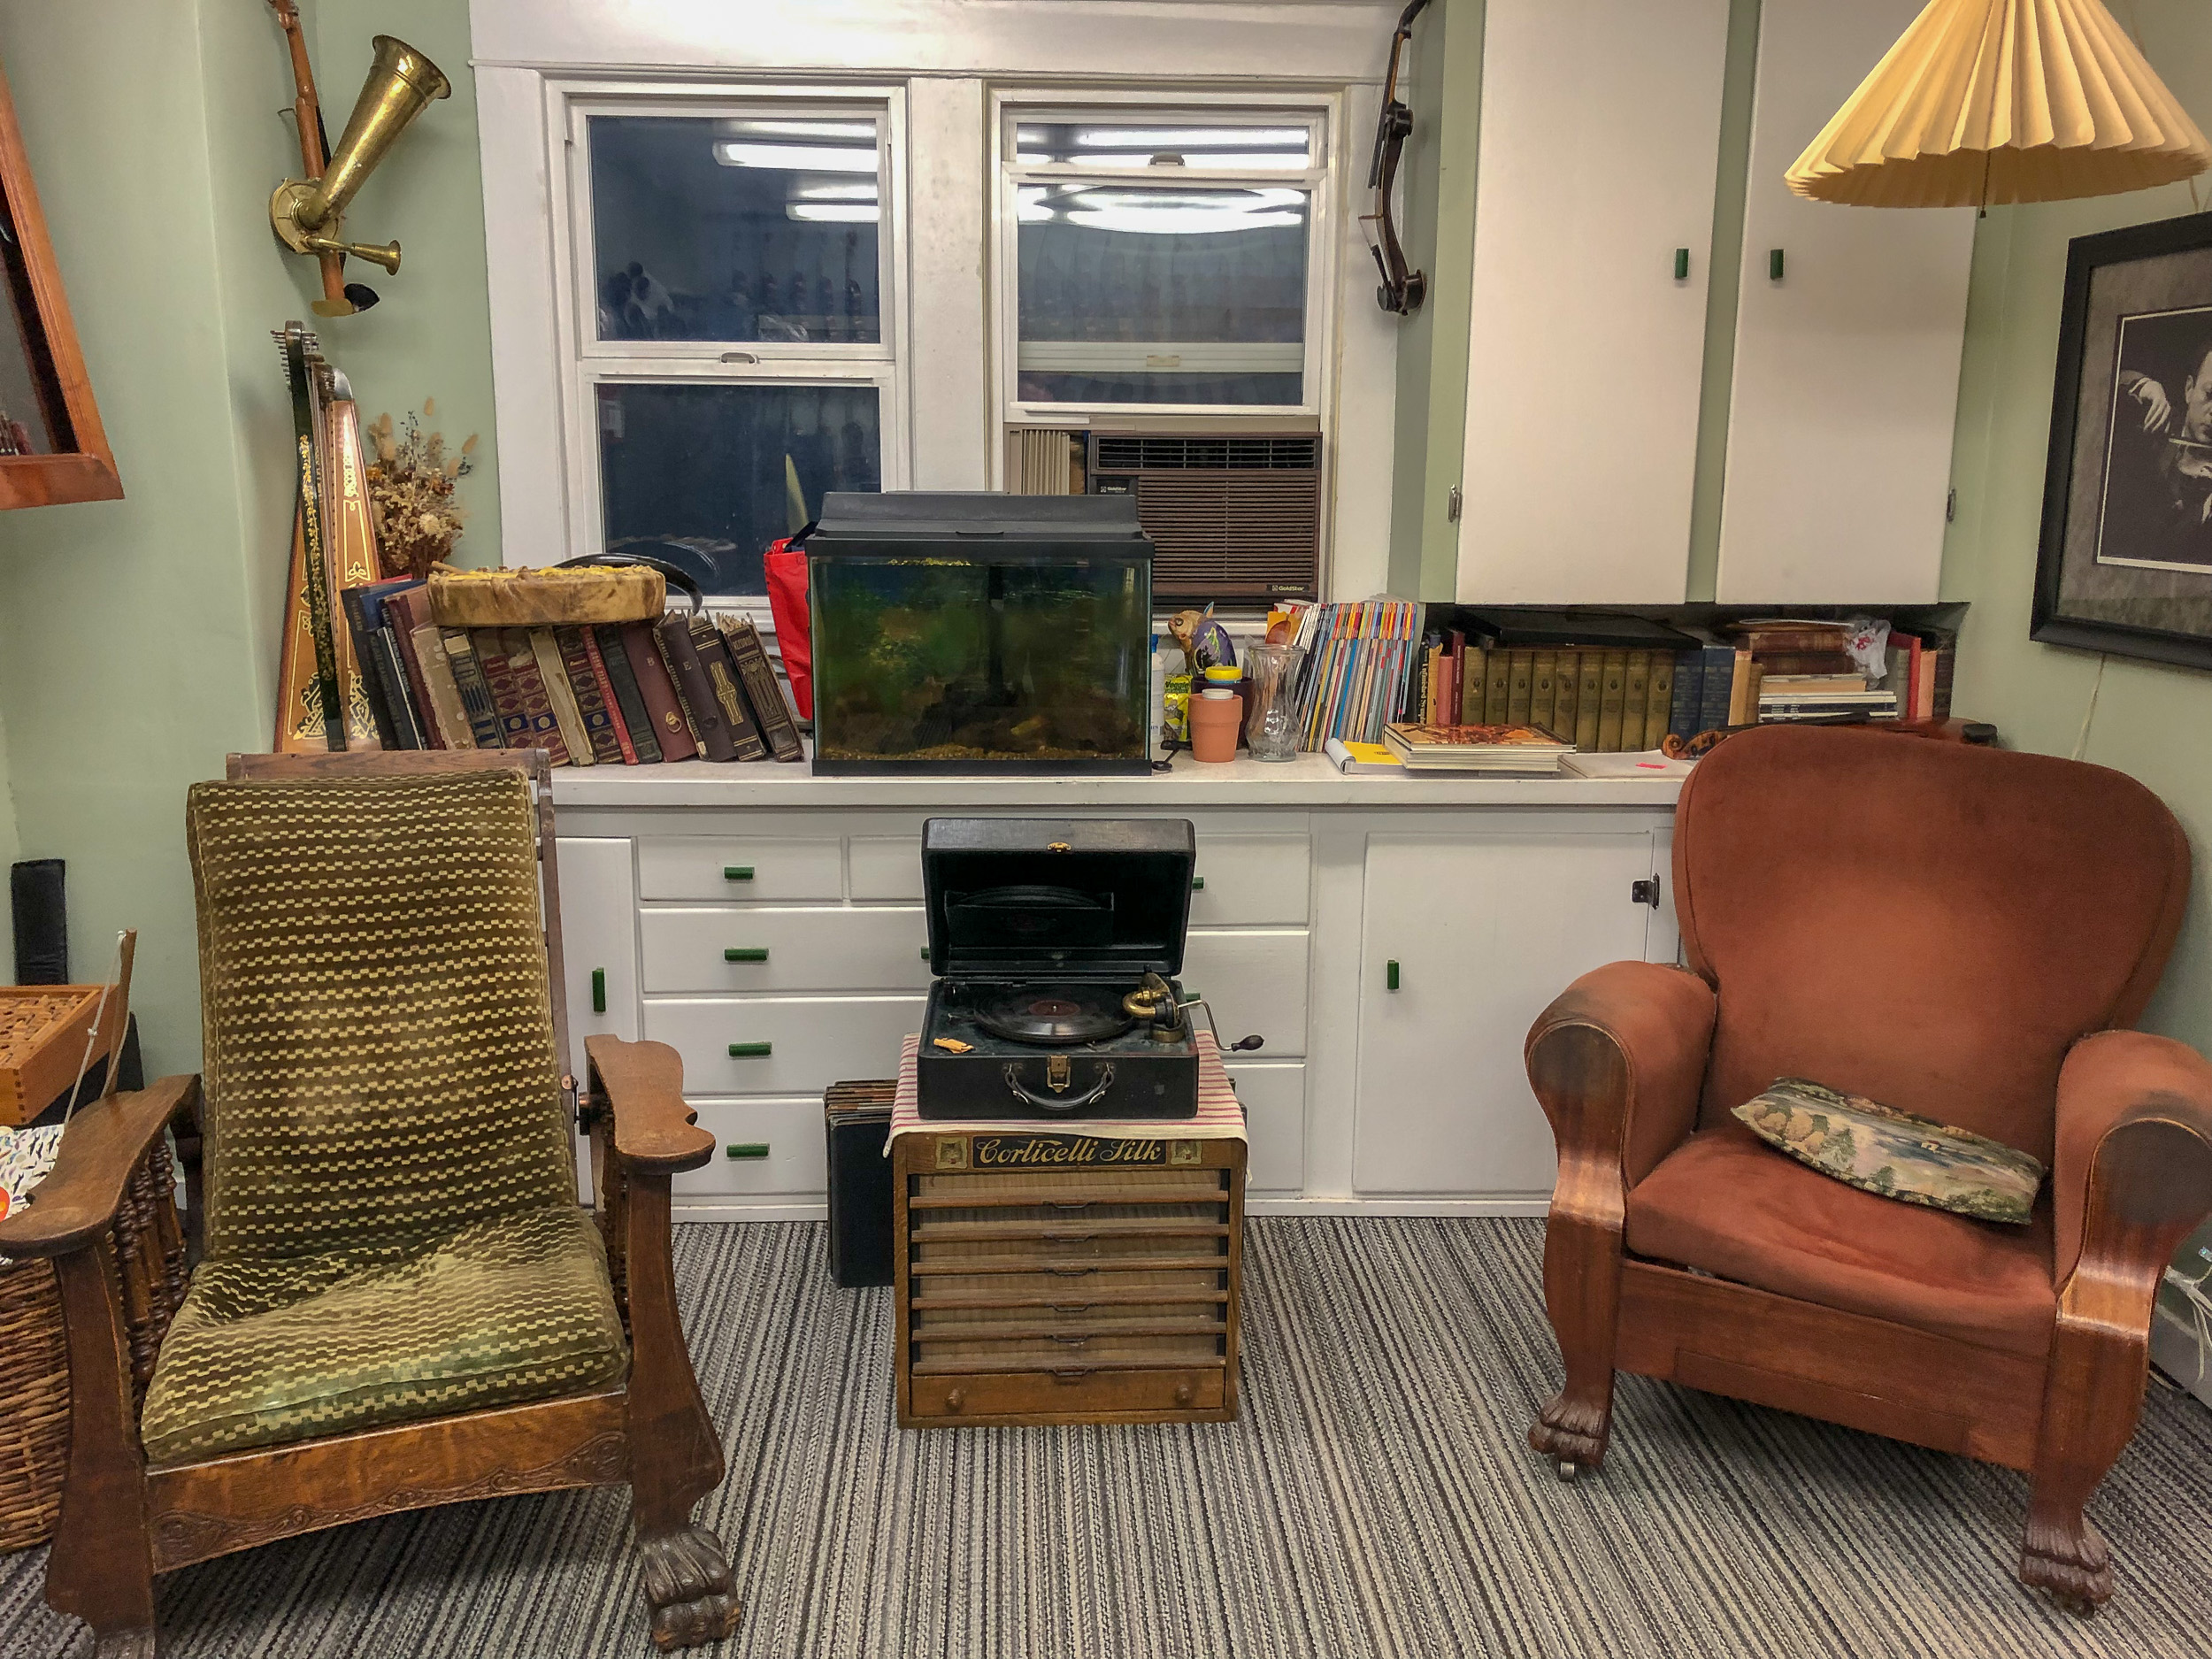
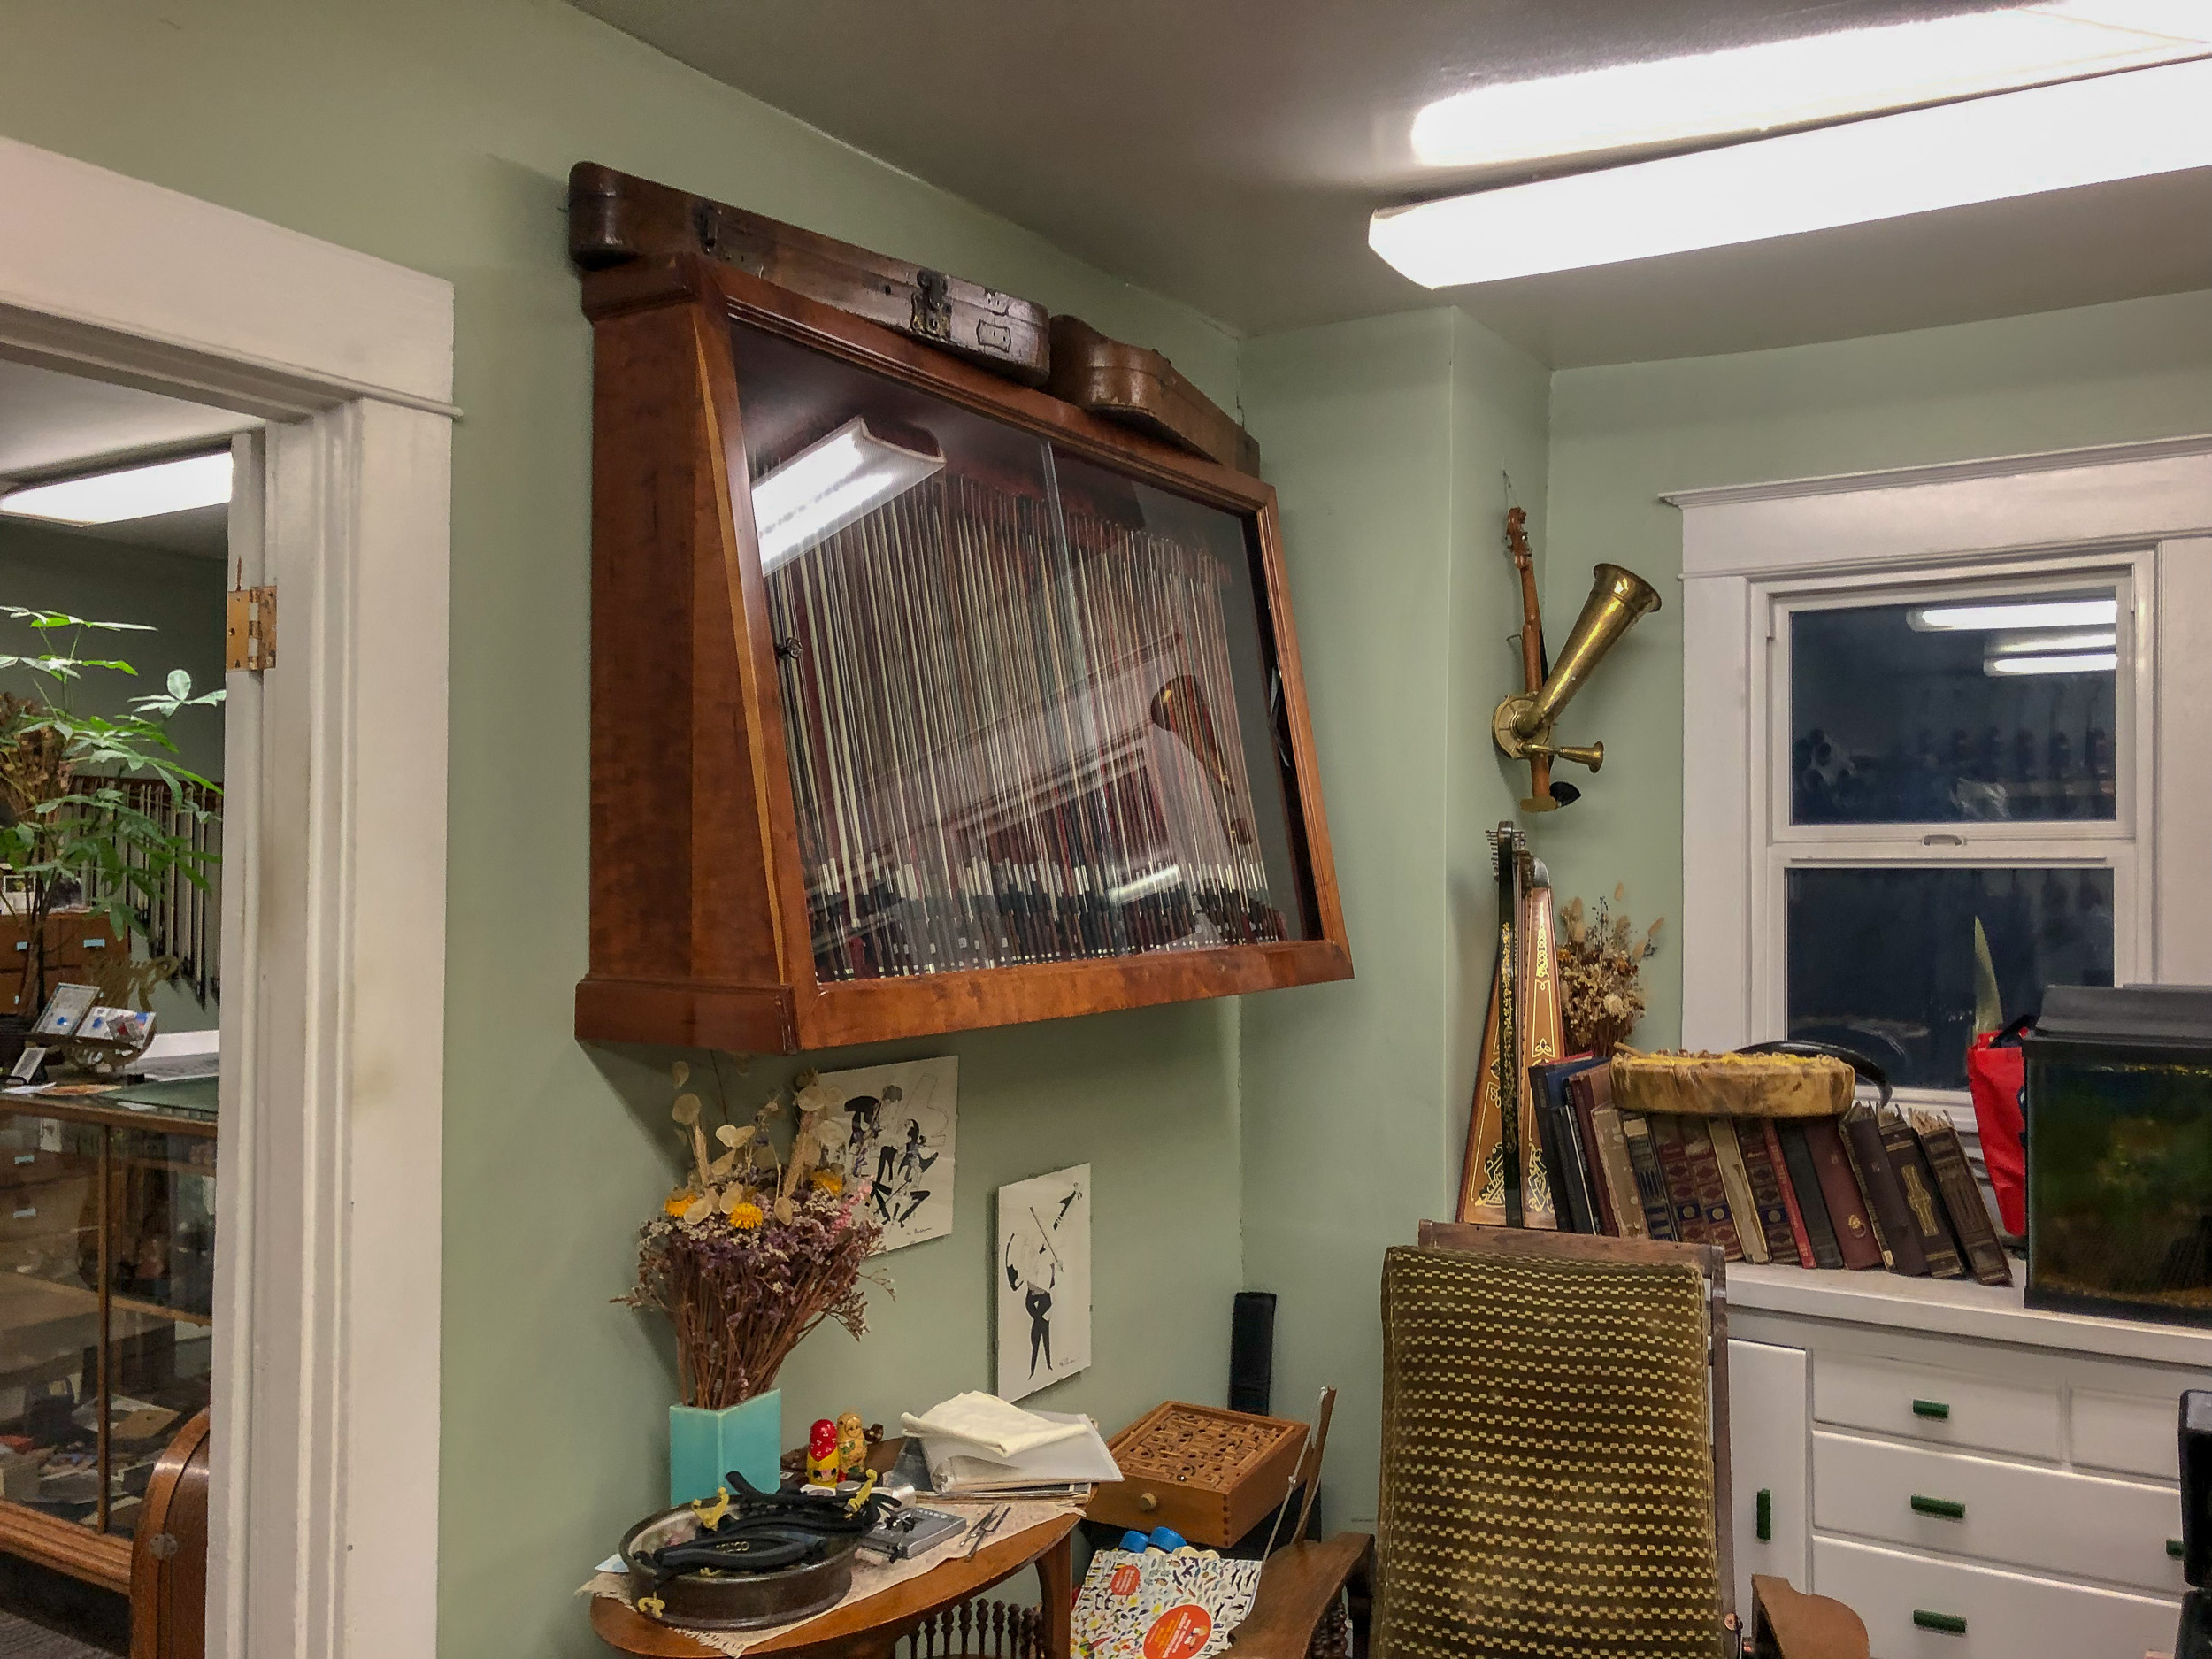
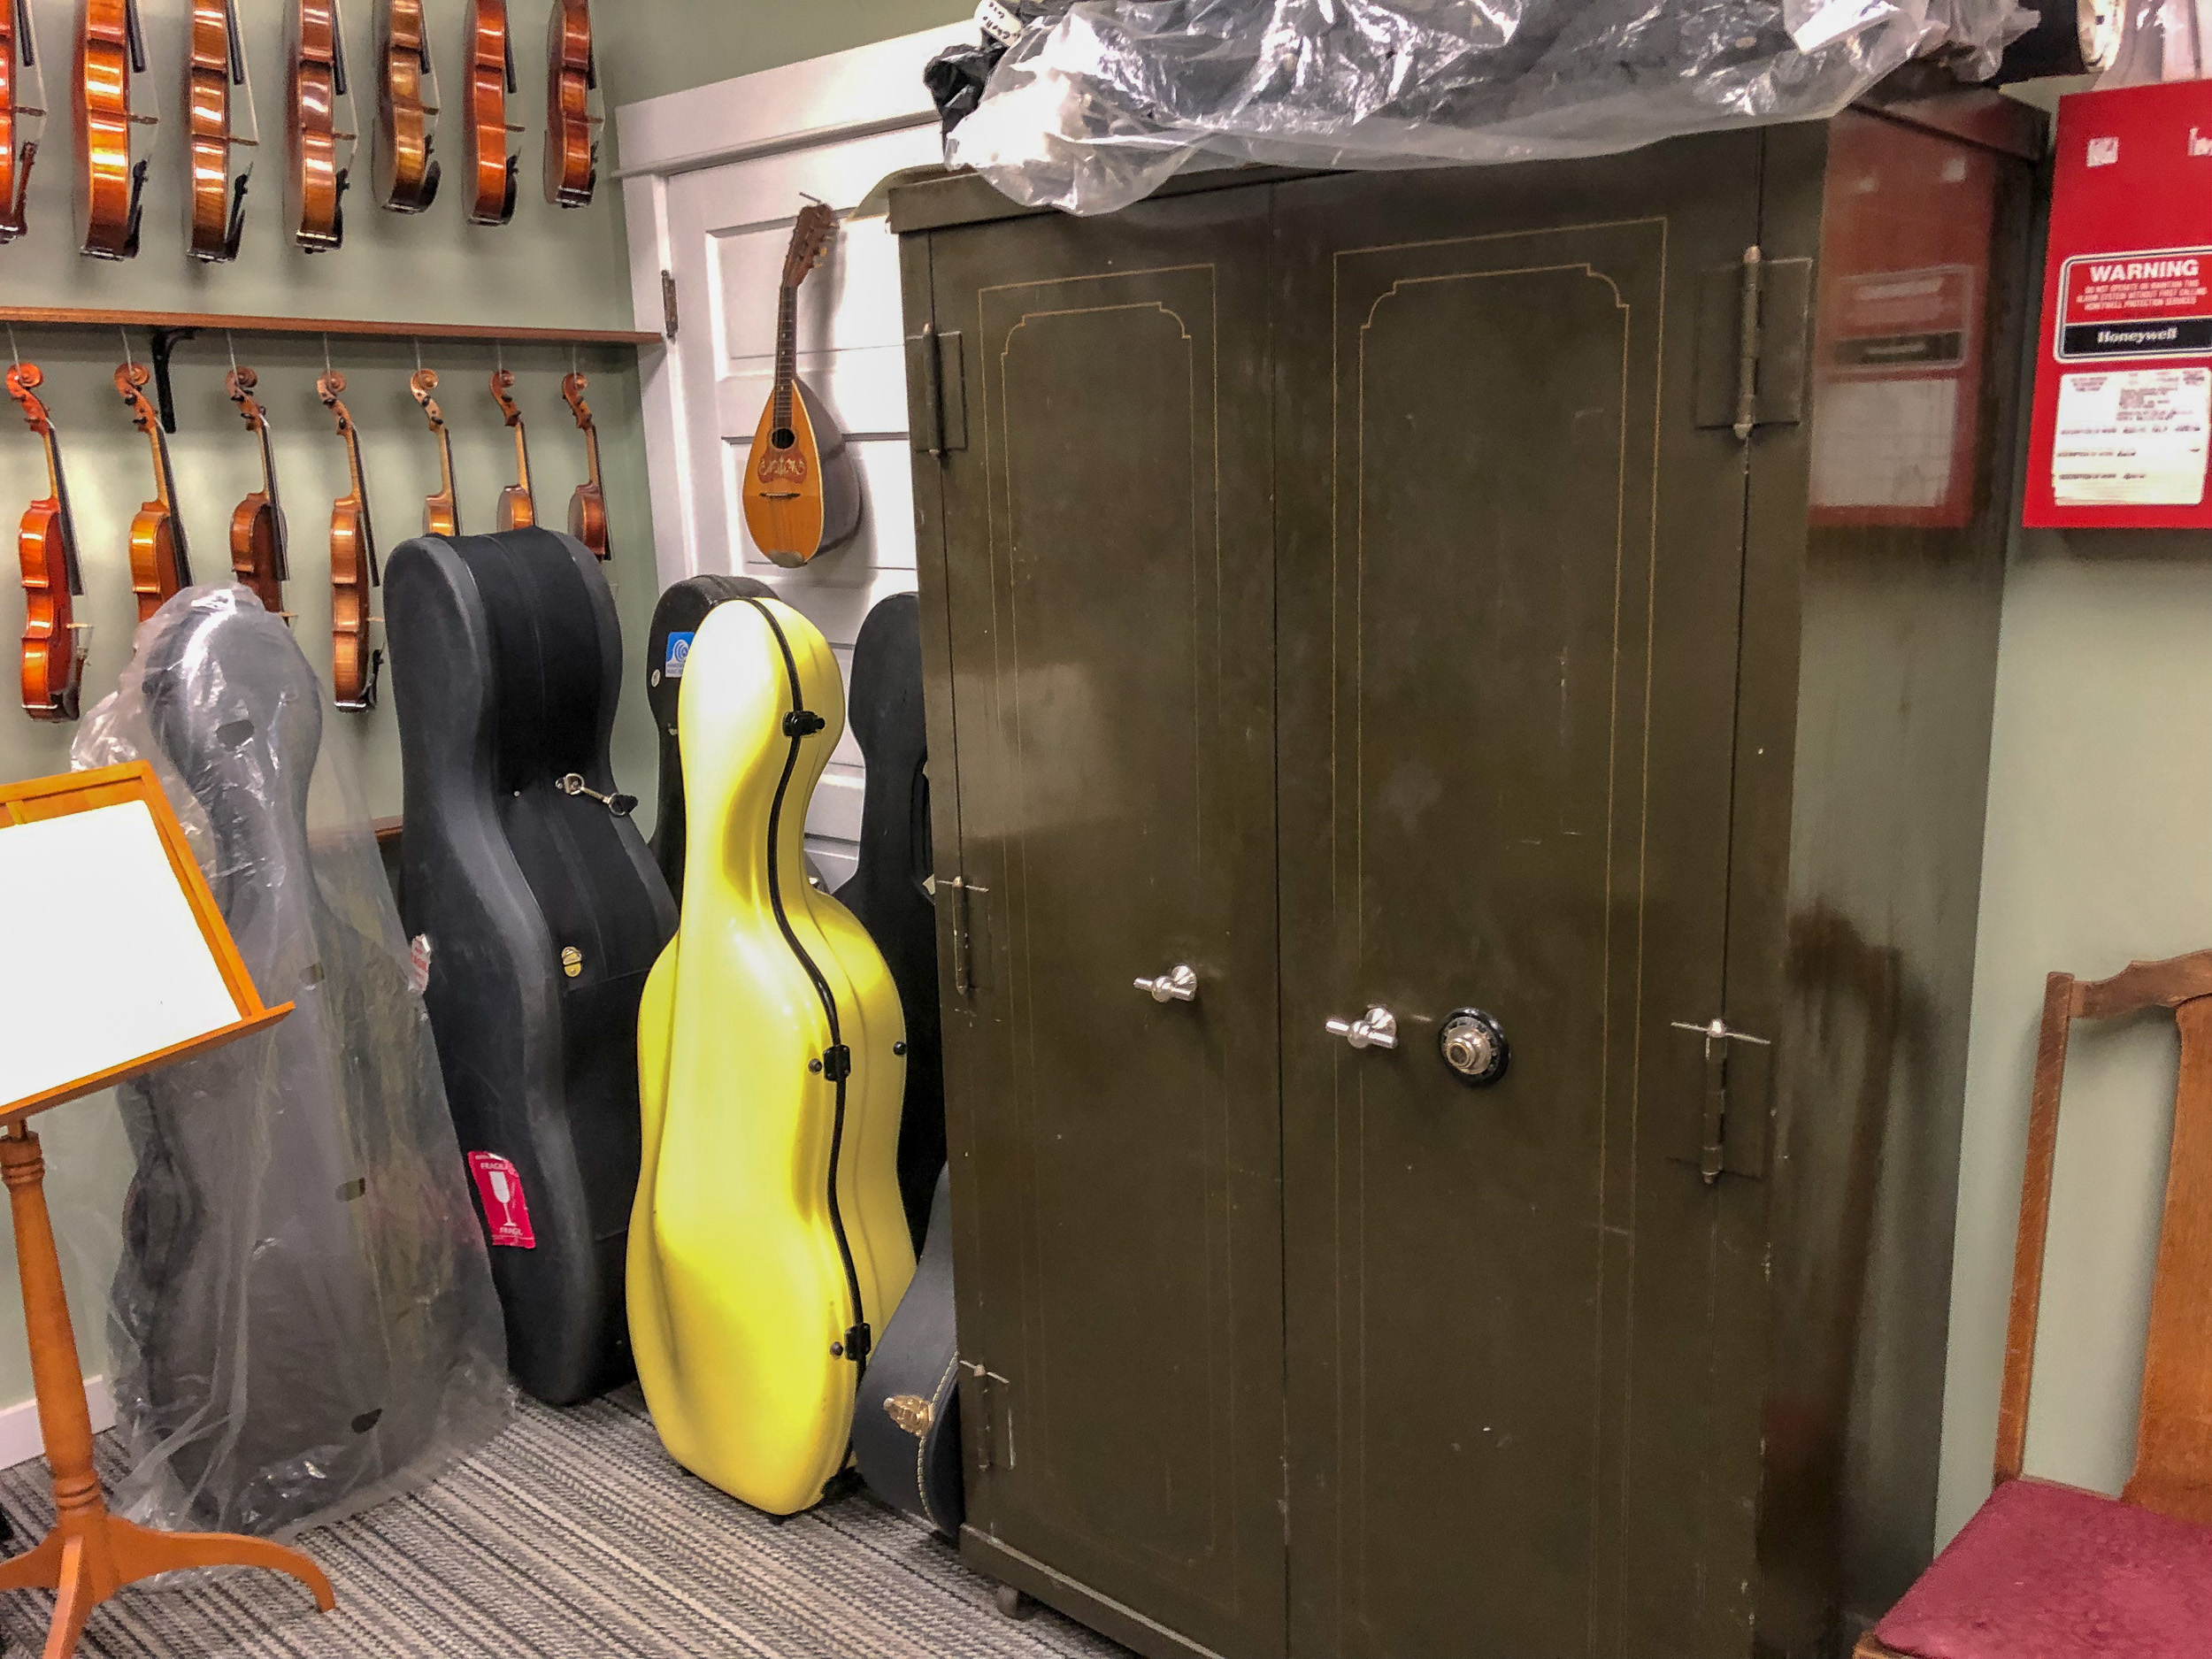
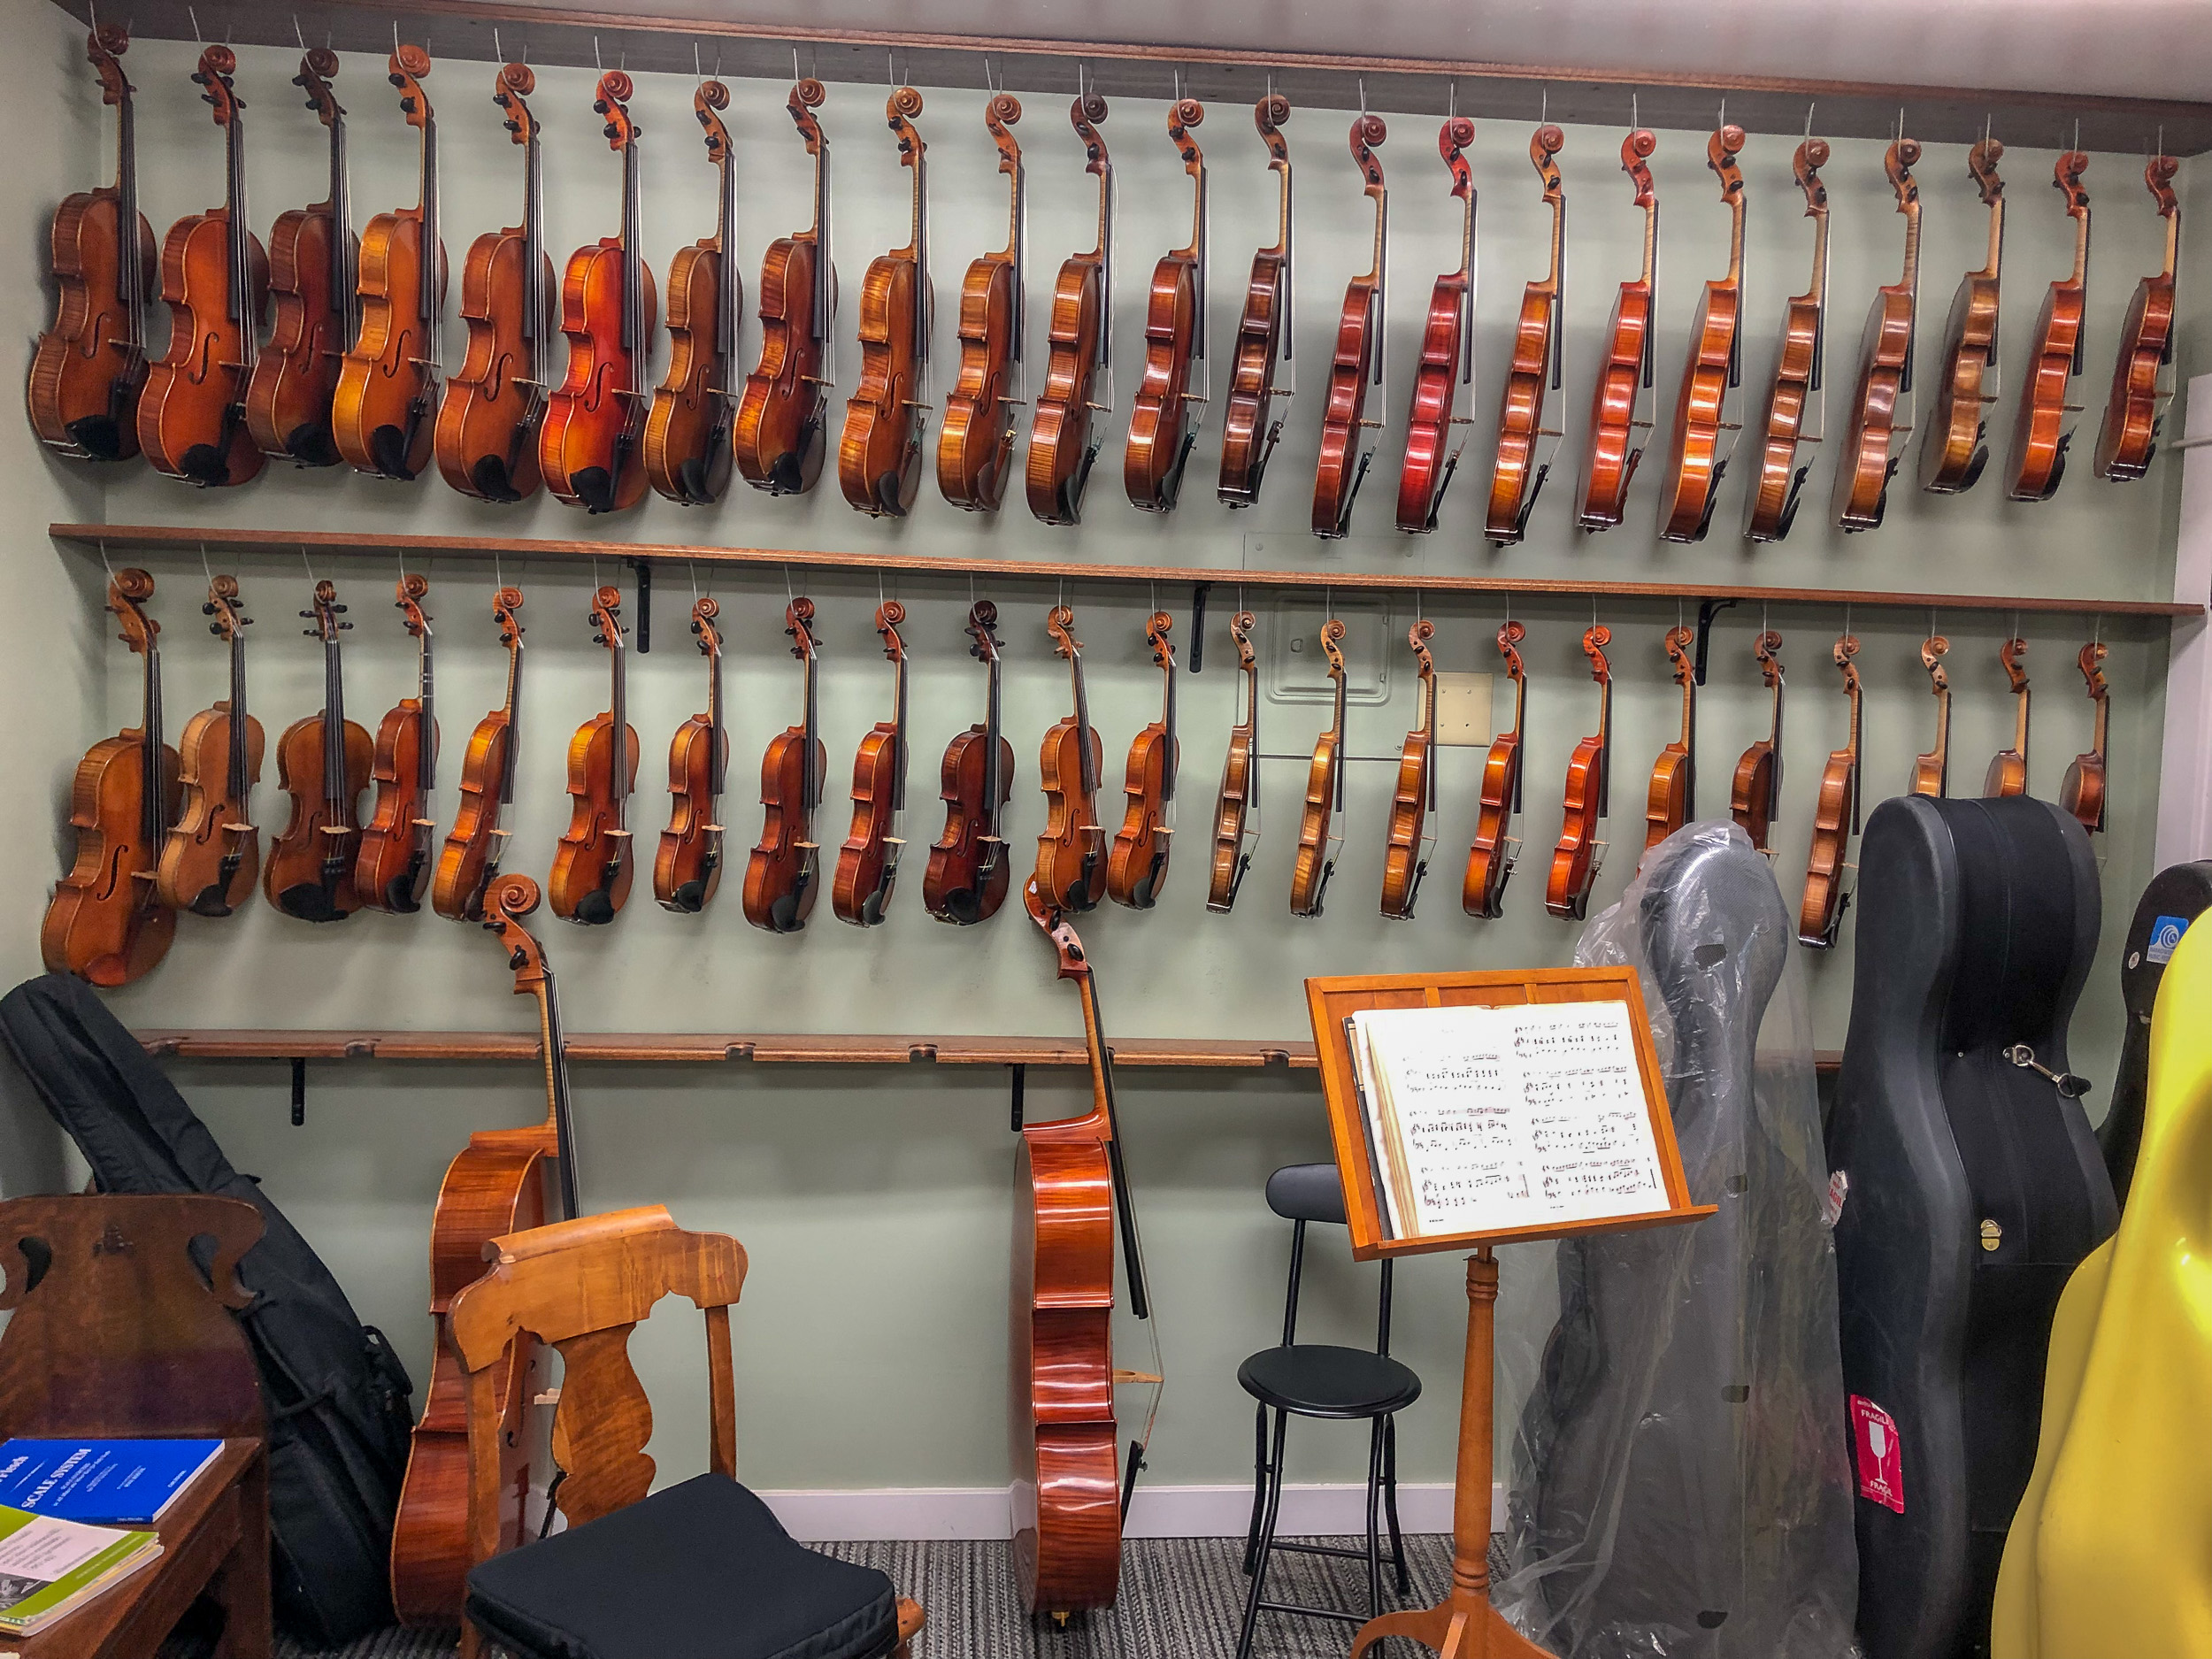
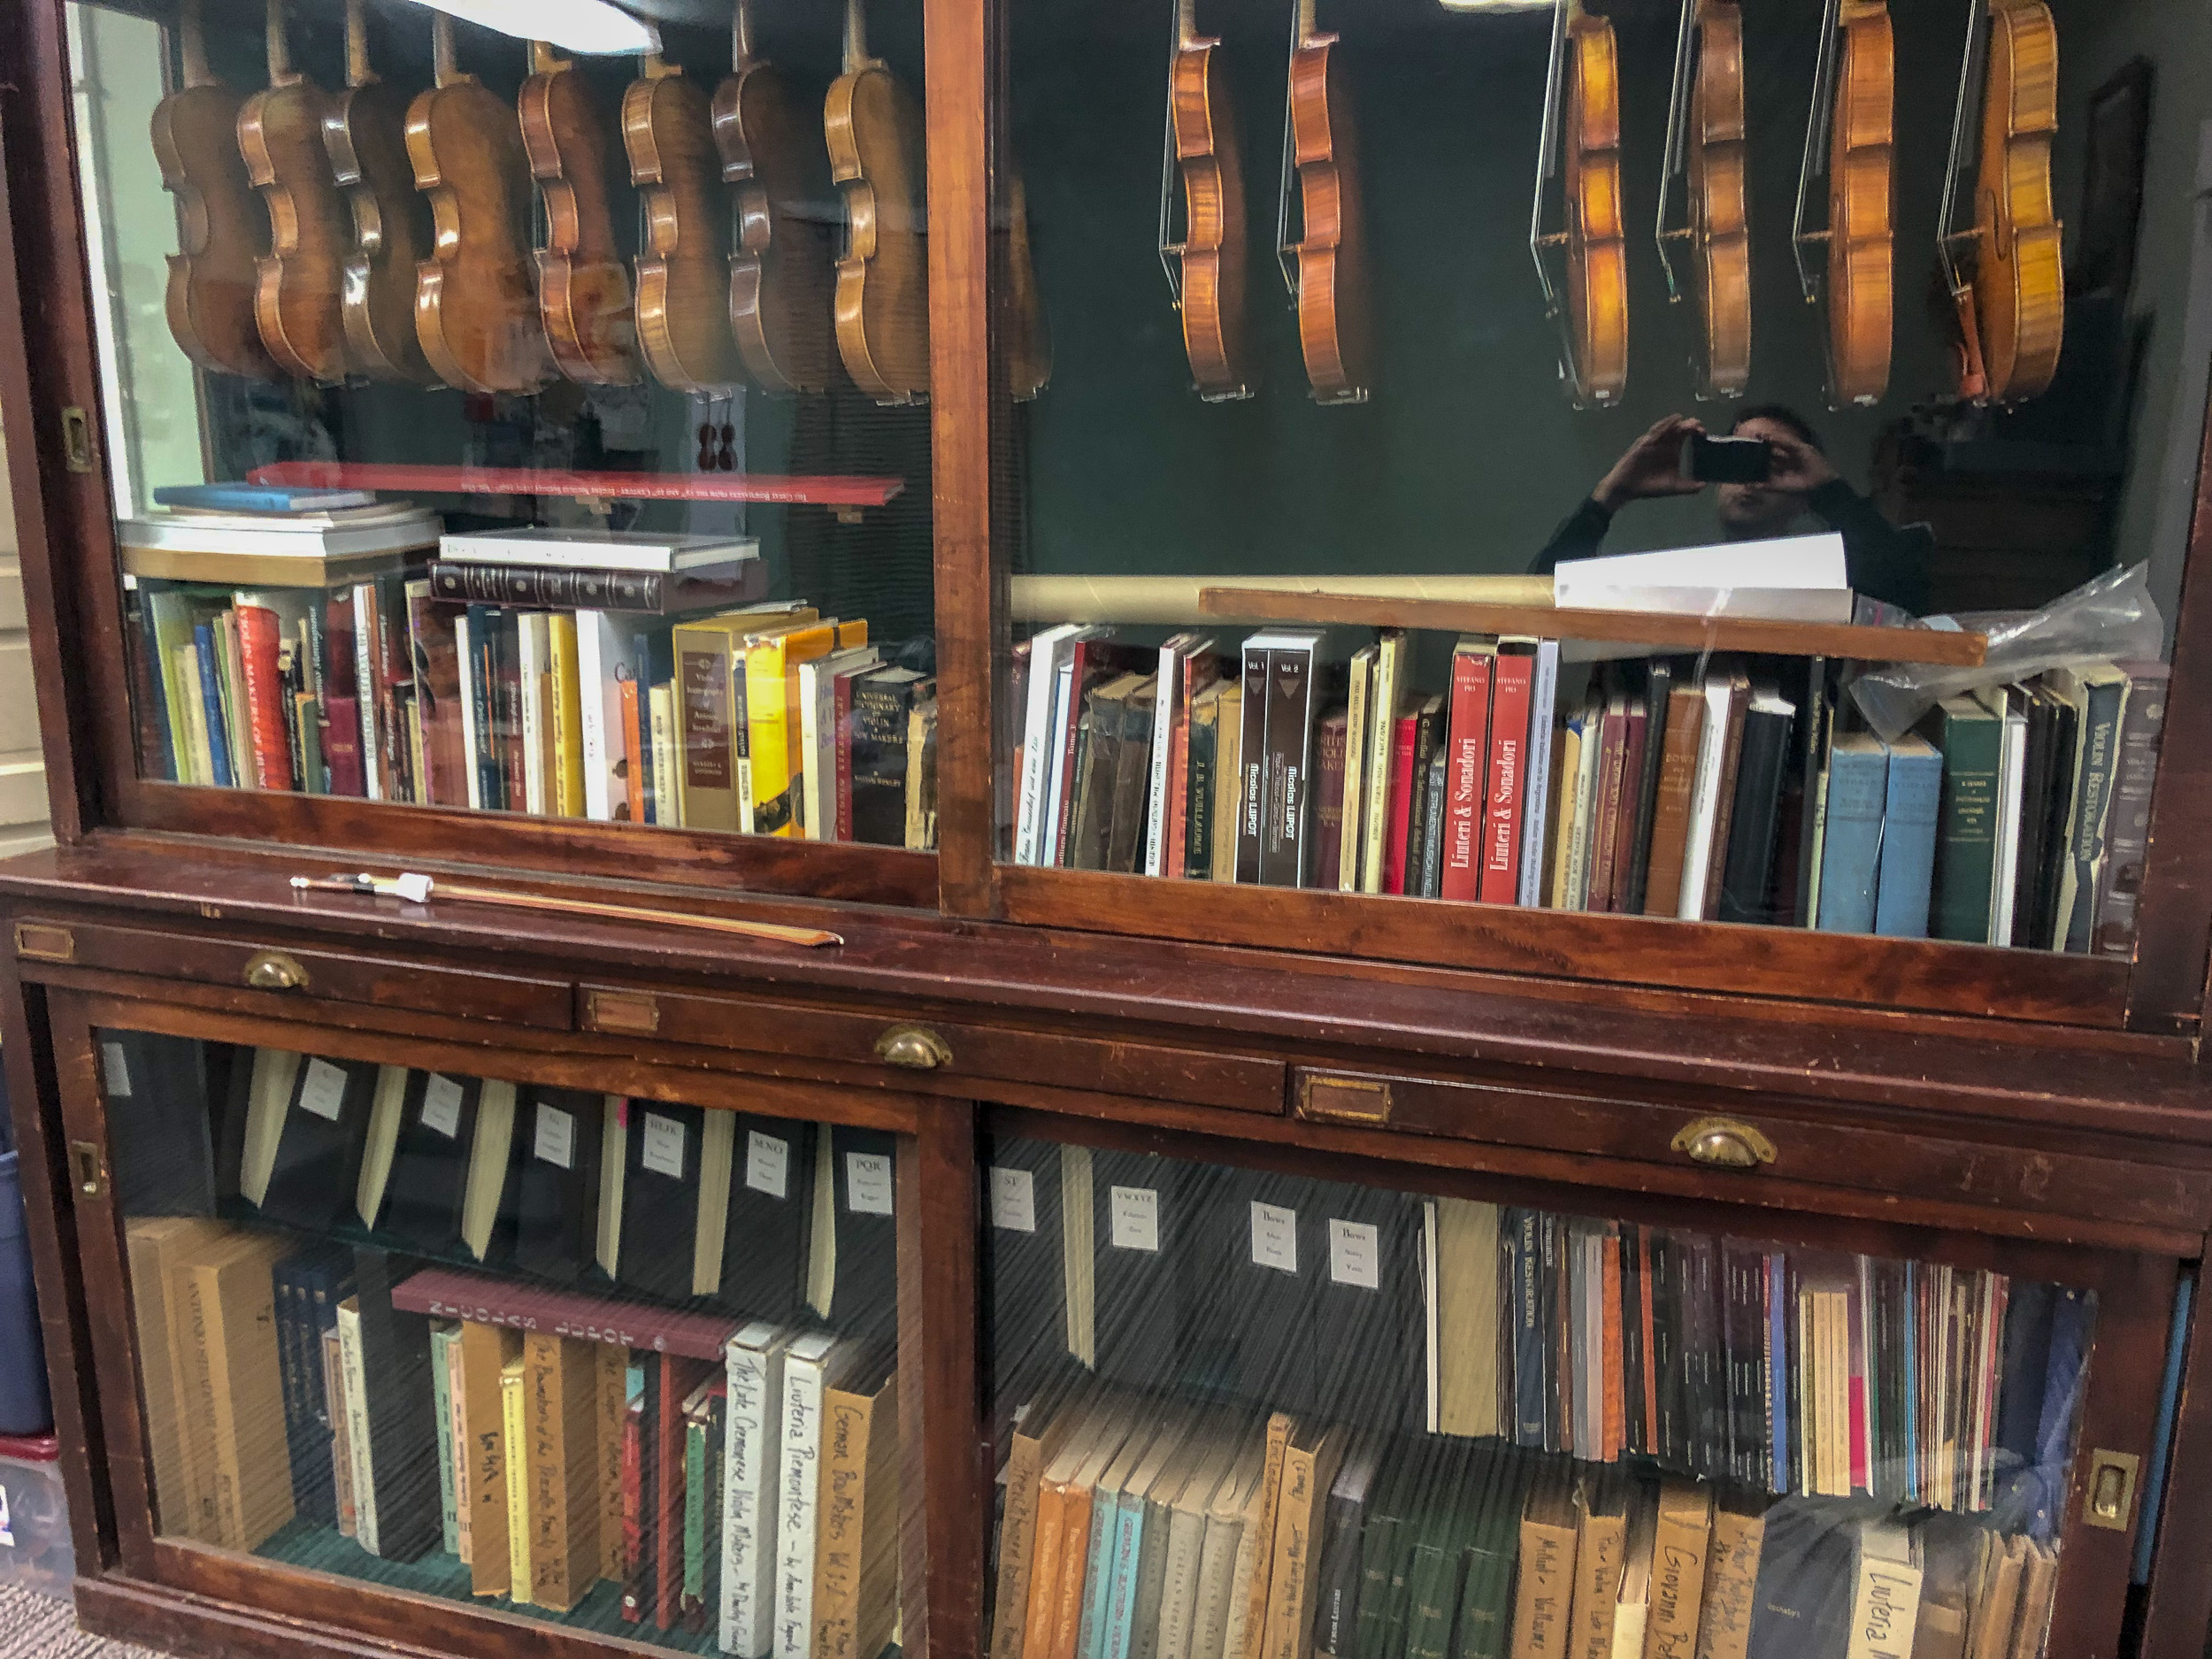
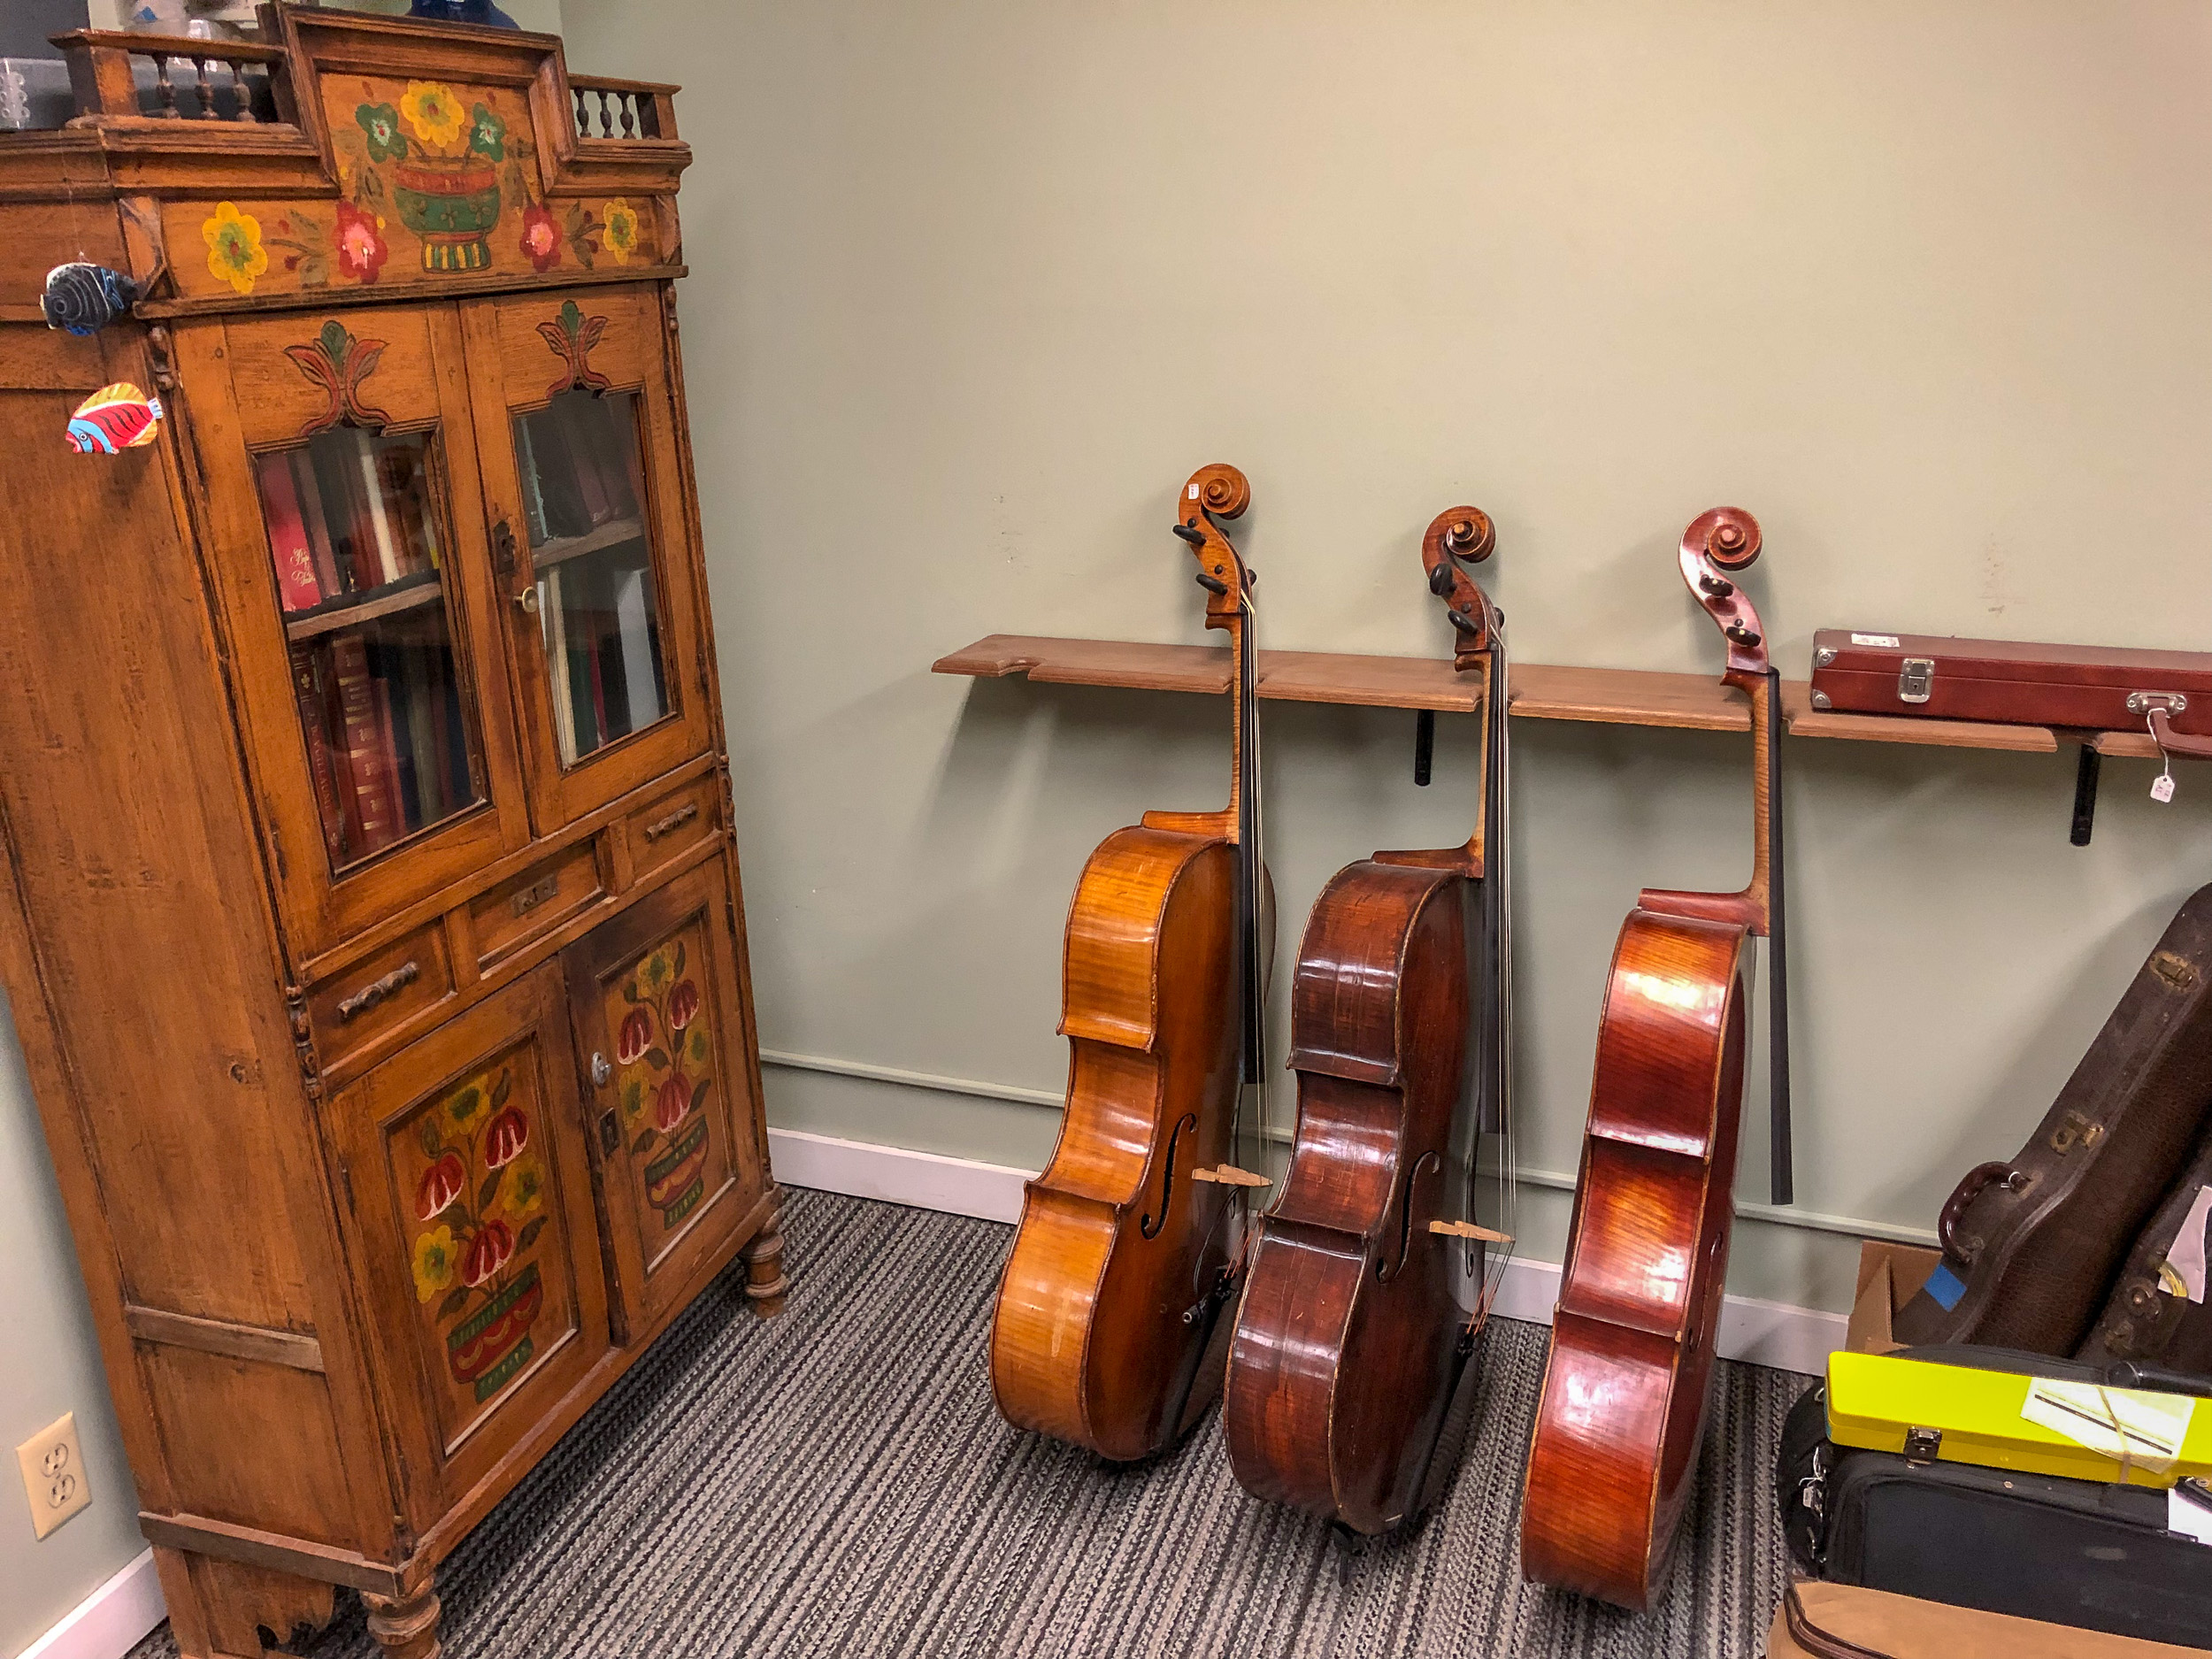
I went to David T. Stone Violins, a local shop here in Seattle, one day after work. I had used their services before to make some repairs to my violin and I also purchased a bow from David, who is very knowledgeable in the topic. I mentioned the festival and what I wanted to do, asking whether they would be willing to participate.
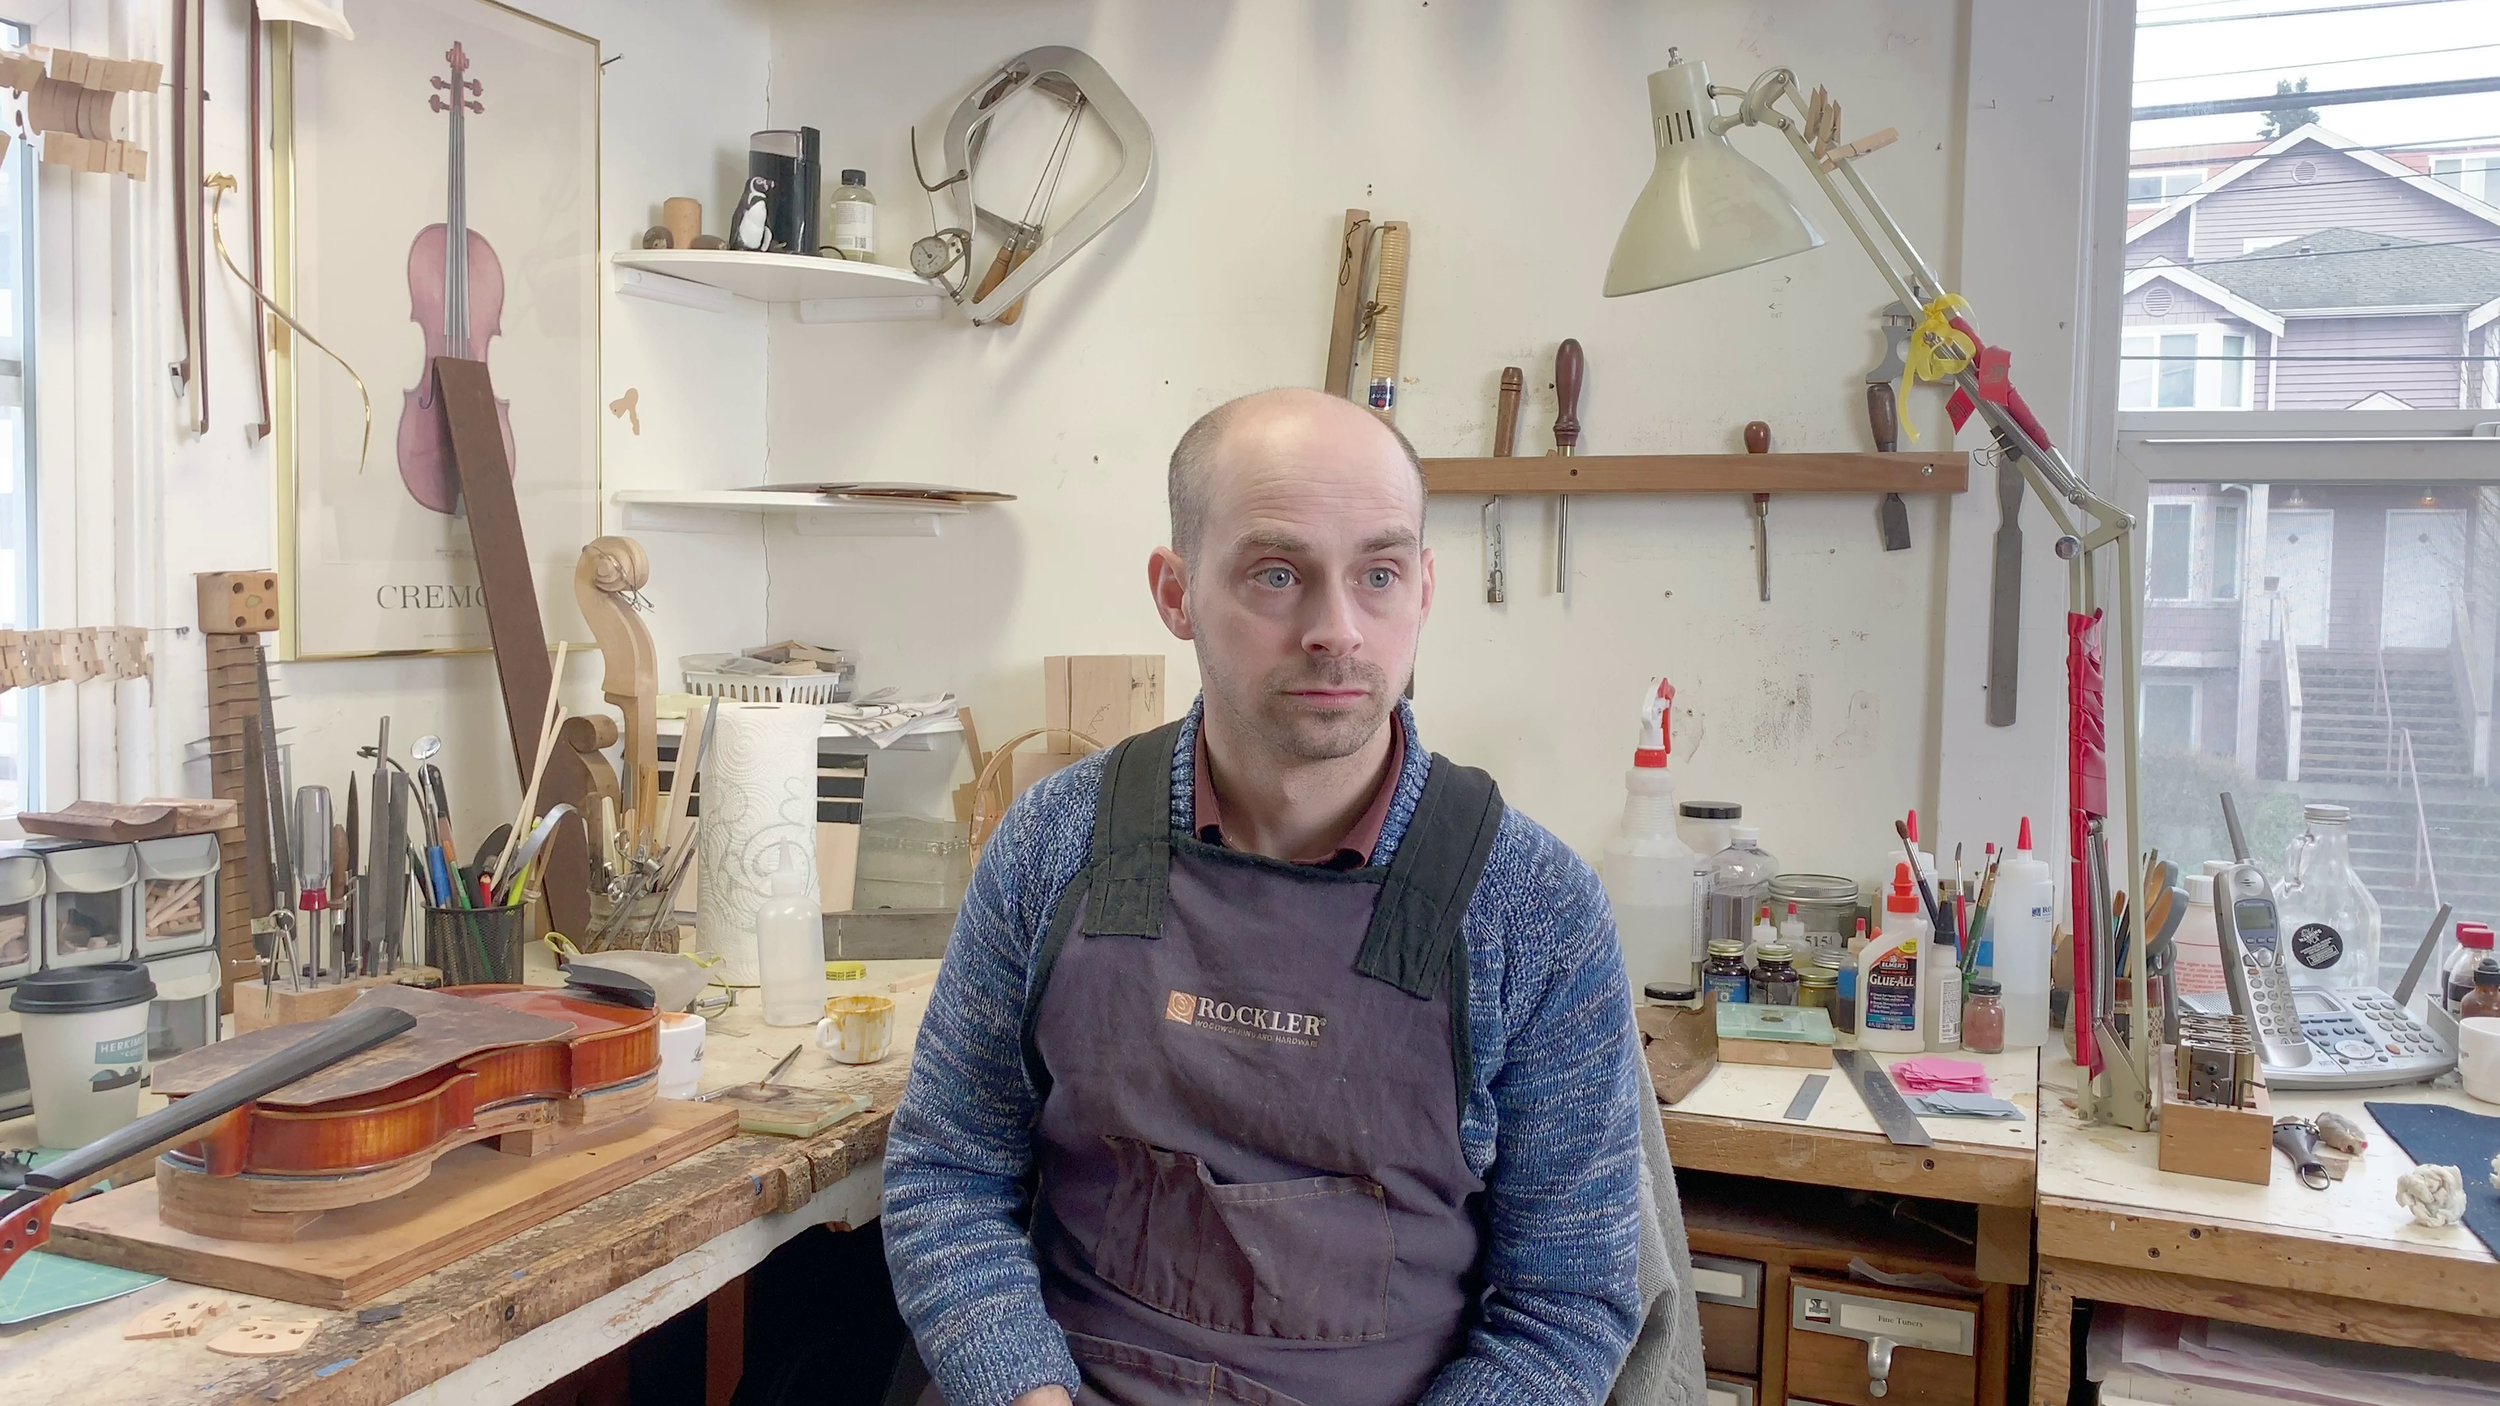
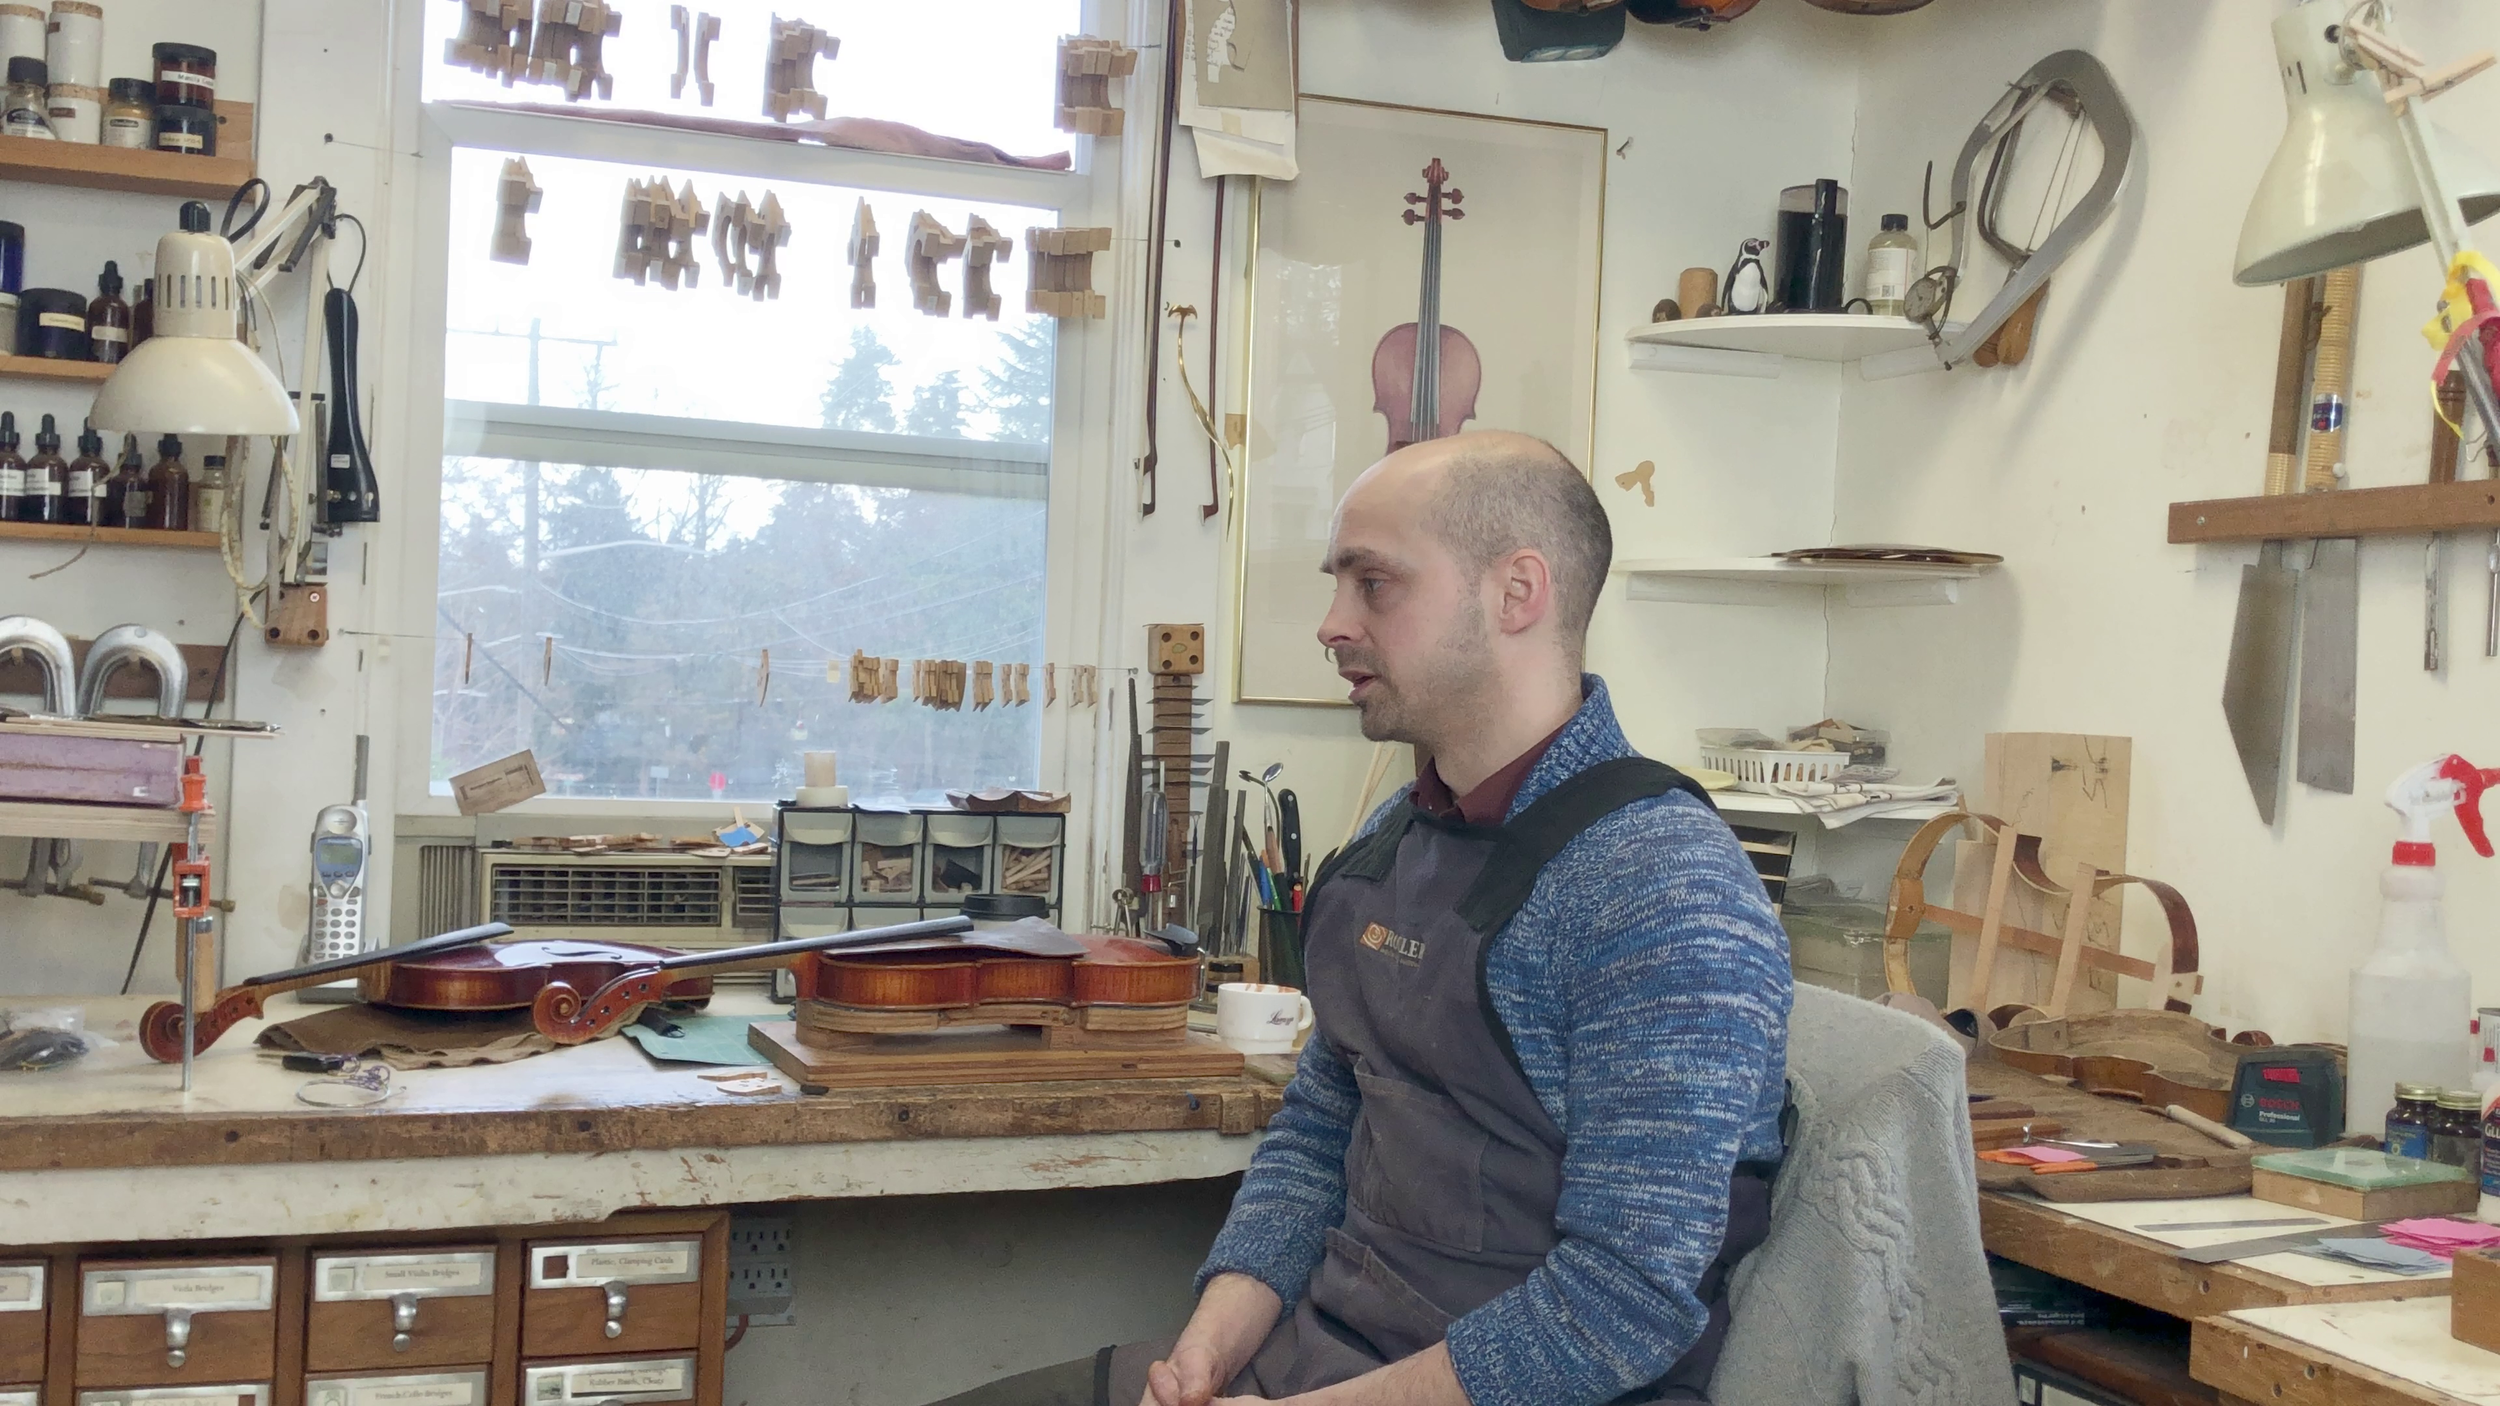
David was happy to let me record in the shop, and, as his expertise is bows—not violins—we agreed I would interview only Andrew, who works in the shop. Andrew was also happy to be interviewed, so we agreed that I would go there the next Saturday, would take some half hour to install my equipment, and maybe another half hour of interview.
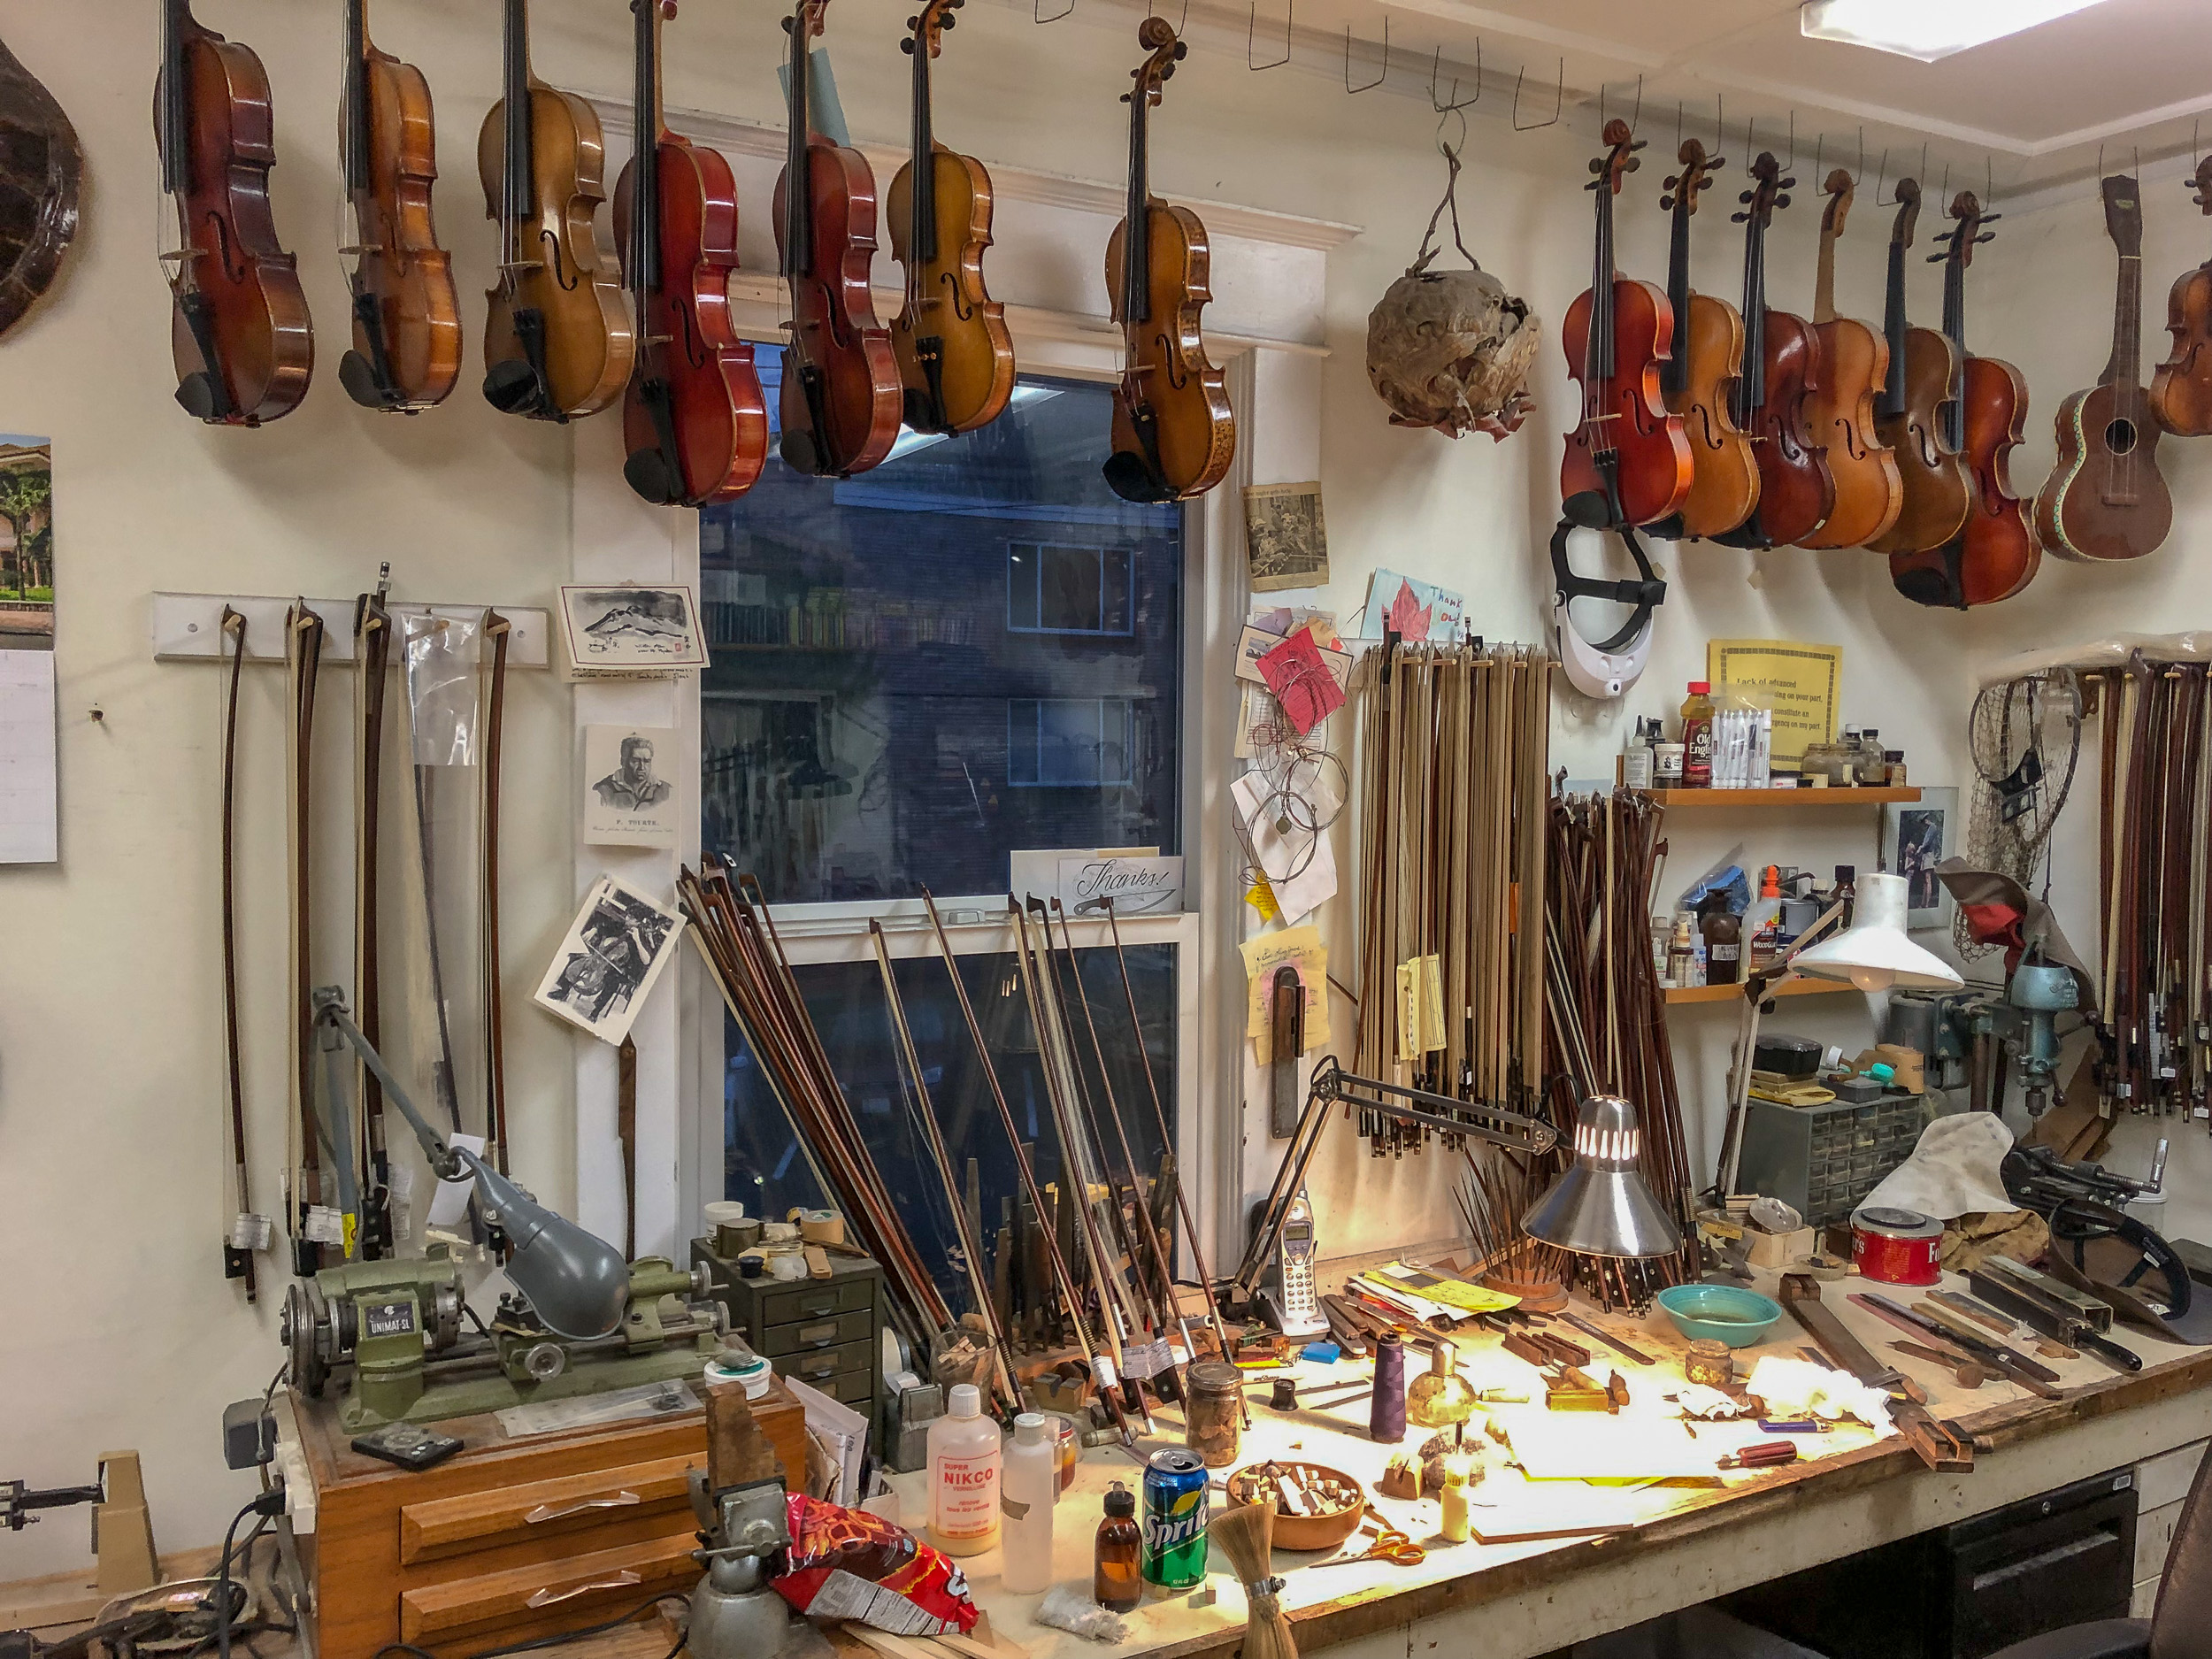
I took a few pictures of the workshop area and the other rooms in the shop, to see what would be film-worthy. Visually, there’s a lot going on everywhere, which would be a double-edged knife: it makes it interesting, but also distracting, as shallow depth of field is not really an option with phones yet. Yes, I’m aware of the adapters for DSLR lenses, but this wasn’t be the right time to invest in that kind of gear and risk a steep learning curve.


Rough plan for the whole process
Knowing I would have one month, I made a rough plan dividing into weekly chunks:
First week to get the footage. Interview and b-roll, both in the workshop and wherever this guy makes his violins, which is probably at home.
Second week to get the edit very close to a final cut.
Third week to make the music (either by selecting it or by having somebody compose it). As I was planning to use a composer, I would start doing the color grading in parallel.
Fourth week to do the audio mix, final render, upload and submission, and hopefully have some buffer for the unexpected.
A note on music choice
As I mentioned, I would consider a full week just for selecting the music. This was the first conscious acknowledgment that I wasn’t doing a YouTube video in a vlog style, where I can pick any fancy-sounding music and cut to the beat.
The history of violin makers goes back around 600 years with the Amati family, so I didn’t want anything modern. Instead, I wanted a classical format that wouldn’t require a Hollywood budget, so instead of a full orchestra I would settle with a string quartet or a traditional piano trio (piano, violin and cello).
As these ensembles are not exactly abundant in online music libraries, I wanted the help of a composer. I had Keegan in my podcast only a few days before, so I asked him whether he wanted to participate. We talked about the idea, the limitations, the deadline, and he was on board. We’ll come back to the music later.
Production
First interview
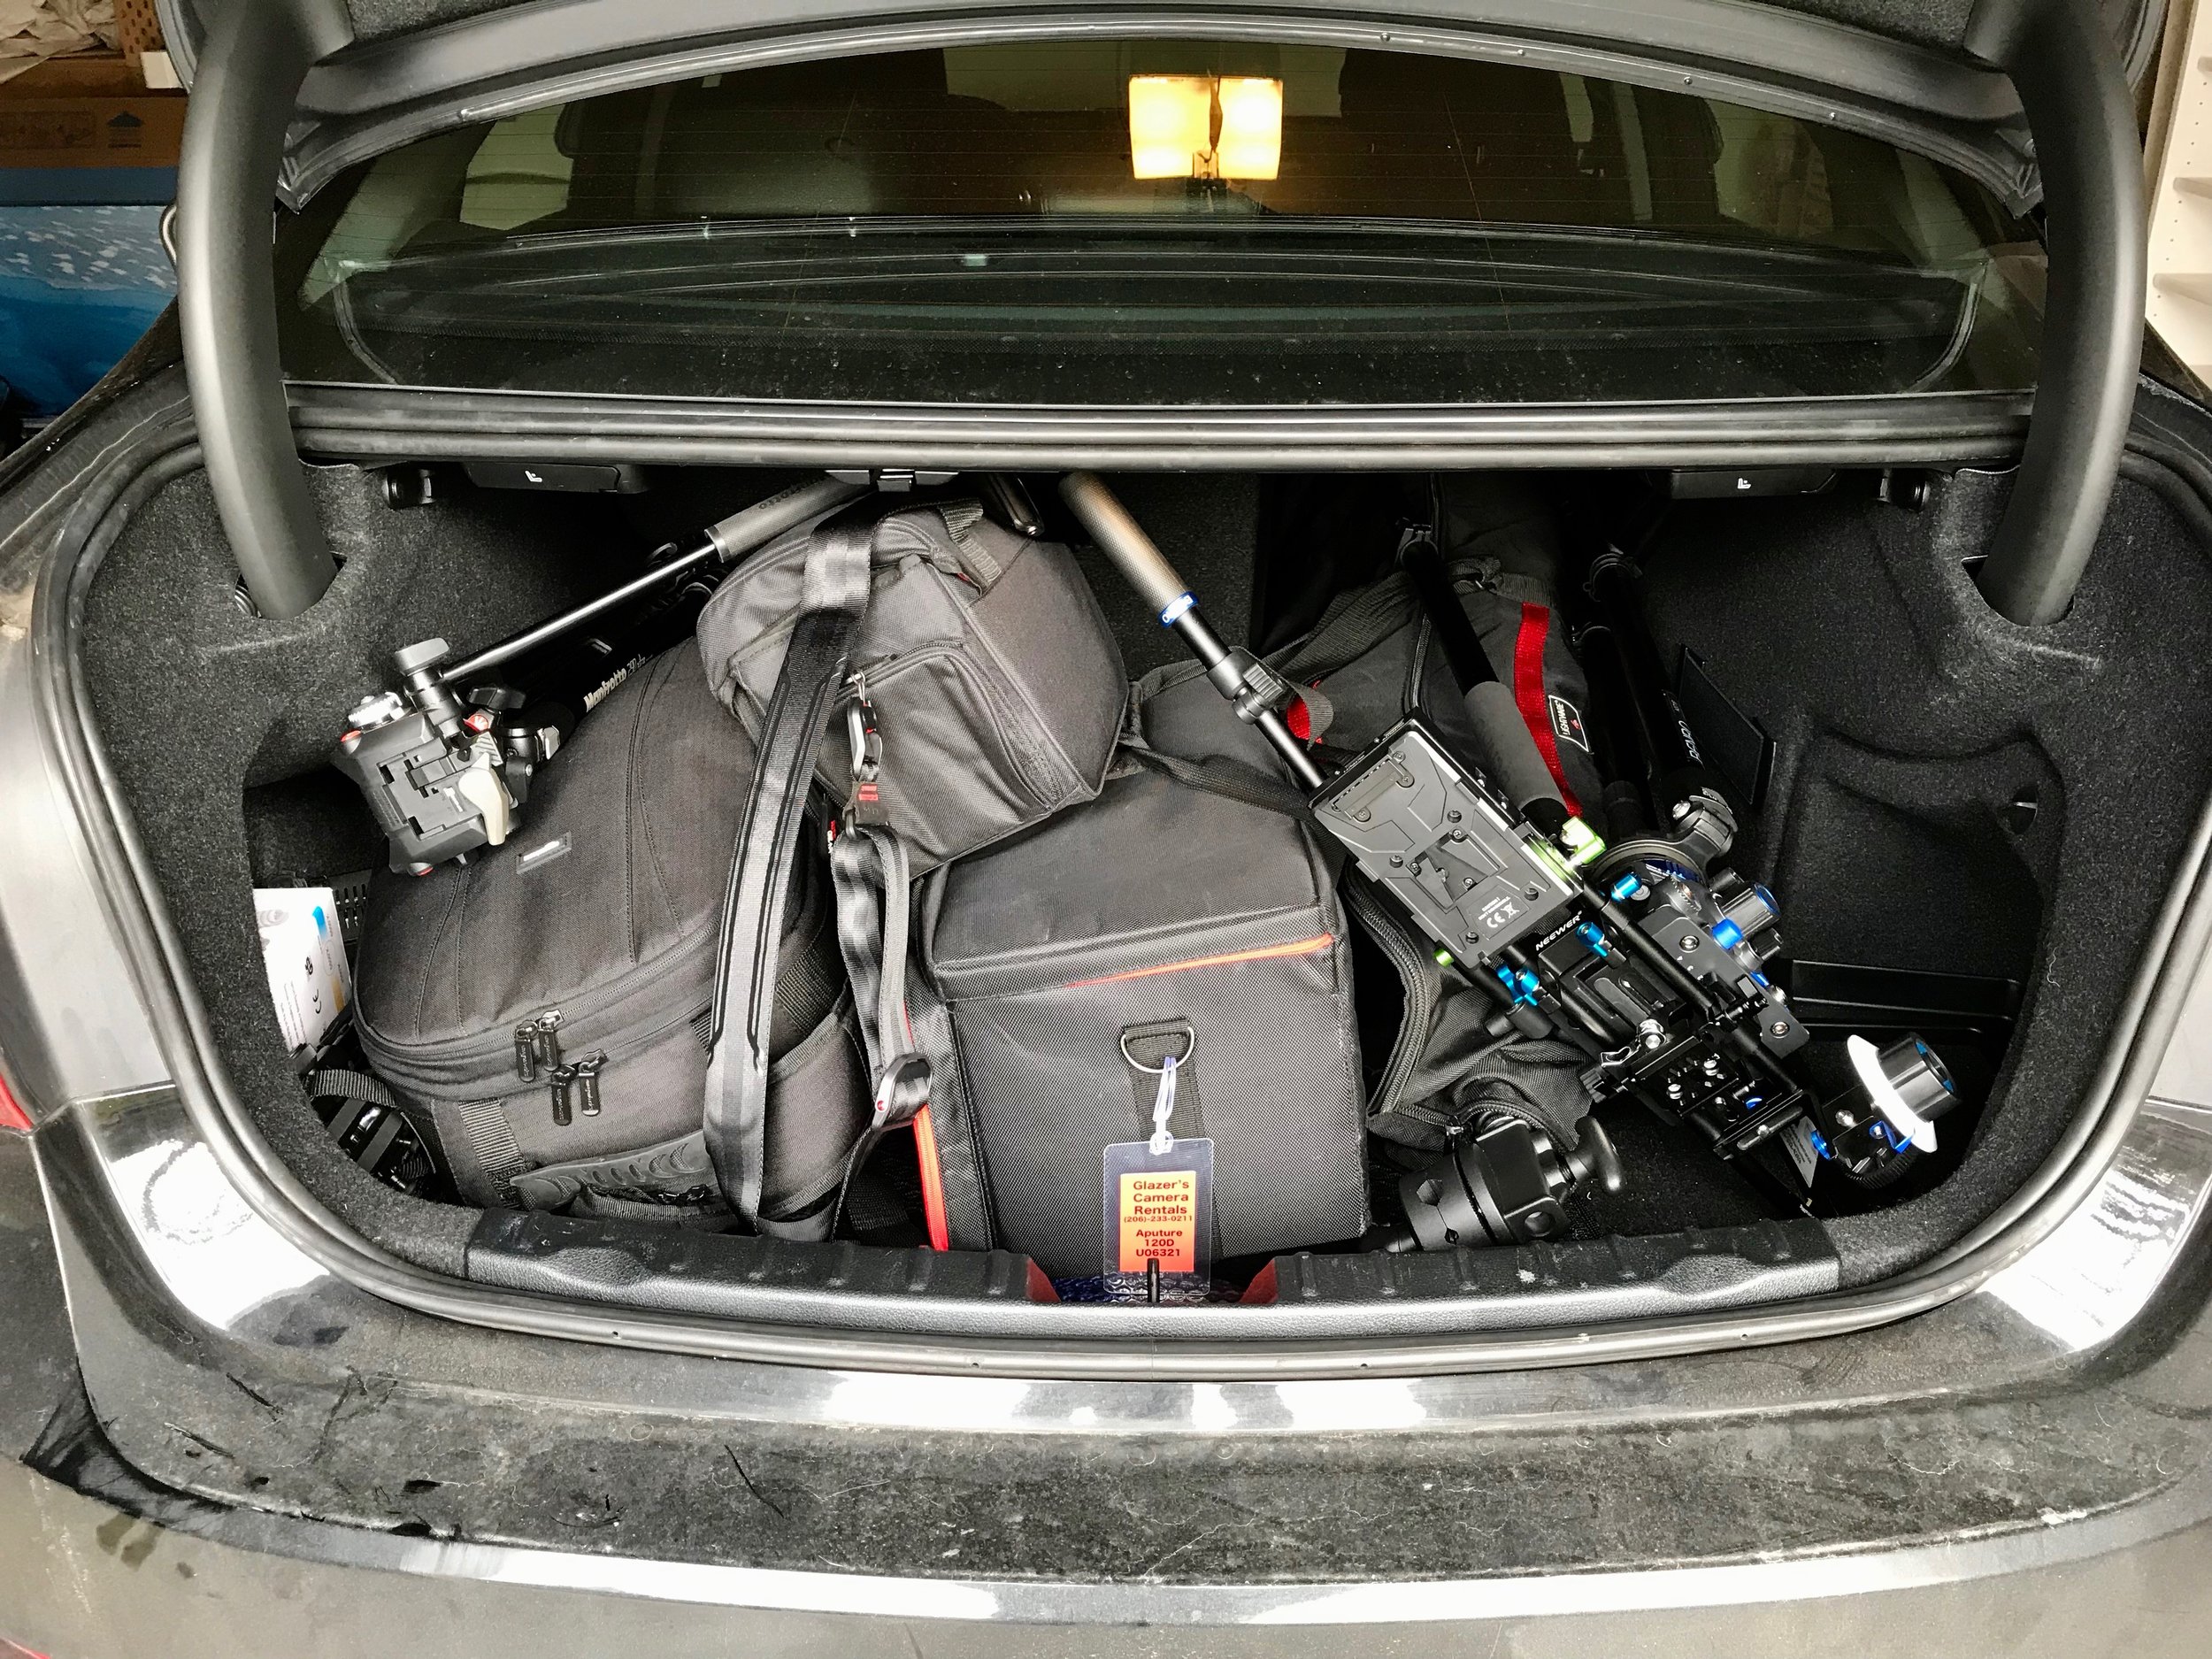
The following Saturday I drove to the shop to interview Andrew. The requirement of ‘shot on phone’ seems a bit of a joke considering the amount of gear I was transporting: this included a big light that I rented for the weekend (Aputure 120d), a C-stand, a couple of tripods and gorilla pods, small auxiliary lights, a shotgun microphone, a portable audio recorder, cables, a V-mount battery, a friction arm, tape, a very cheap slider, and of course the phones I was going to use: an iPhone X and an iPhone XS, both work phones that I fully charged, although the V-mount battery would help with this later.
I took a GoPro with me to document the behind the scenes, but that was too much wishful thinking. In reality, I was absolutely immersed in what I had to do, trying to see that nothing would fail, checking that the phones were indeed recording, battery levels, audio levels, exposure, etc. And that was basically all of my concentration, so I didn’t even remember that I had the GoPro there, waiting.
The space was limited, but I found a place where I could put the main tripod and set one of my phones there. This would cover from medium shot to close up. A second camera would point from the side. This didn’t convince me much, but I had no place to put the two cameras at a slightly different angles from the front, one of the disadvantages of not having longer telephotos (and more space). I placed the microphone above the subject, clamped to the C-stand, high enough to be invisible in the wider shots.

The interview itself lasted 28 minutes. After my setup was done there was a customer trying out a few violins, so we had to wait for a while until we had silence. At the end we could have continued, but we were interrupted by another customer coming in to talk to Andrew. As we already had enough material, we decided to leave it there.
B-roll
I used the time while I was waiting for the silence to shoot some b-roll from the shop. I used the slider a few times, but it took me a while to get a half decent shot. It turns out that a cheap slider, although smooth, is not smooth enough, so there are parts of the path that are bumpy. That, in turn, messes up with the stabilization from the phone.
Fortunately for me, I was using FiLMiC Pro, so I was able to disable the stabilization and ended up doing all of the shots at least twice, with and without the stabilizer, just so I would be able to choose the best takes. I also did some of them in slow motion just to increase my chances of smoother results.
I also used a cheap macro lens that I got in Best Buy to get really close to some of the tools. Most of the shots didn’t end up in the short, but it was fun just trying the lens and getting some background blur optically rather than digitally. The main problem was that the whole setup is too light and it moves too much, and my gimbal was not prepared for the extra weight of the lens, so it would shake violently trying to stabilize, and some times just gave up and turned off. The alternative were handheld shots from a very close distance, which proved not to be a winning combination.
First shot selection
I started organizing the content right away. On the interview side, I cut whenever I was speaking and some other pauses from half hour of footage, and that gave me 18 minutes of Andrew speaking. The whole short was supposed to be 3 minutes in length, and there’s no way it would be 3 minutes of uninterrupted speech, so there was a lot to cut yet.
I categorized answers by topic, which allowed me to quickly discard many clips that were too technical or needed a long exposition to be understood. I was left with approximately 6 minutes of clips, which I now put into a long timeline for the first time. Whenever a phrase was too long or seemed unnecessary, I just cut and didn’t look back. This was still far from the target, so I couldn’t afford hesitating with my options for too long.
On the B-roll side, I was missing many things that I wanted to have. In particular, I was missing shots of Andrew actually working on a new violin, which he does at home. I showed up in the shop a couple of days later to see if we could do that. I carried all the gear (except the light that I rented, as it had already been returned) just in case, and I was lucky enough that he was willing to do it that same day after work.
Second interview
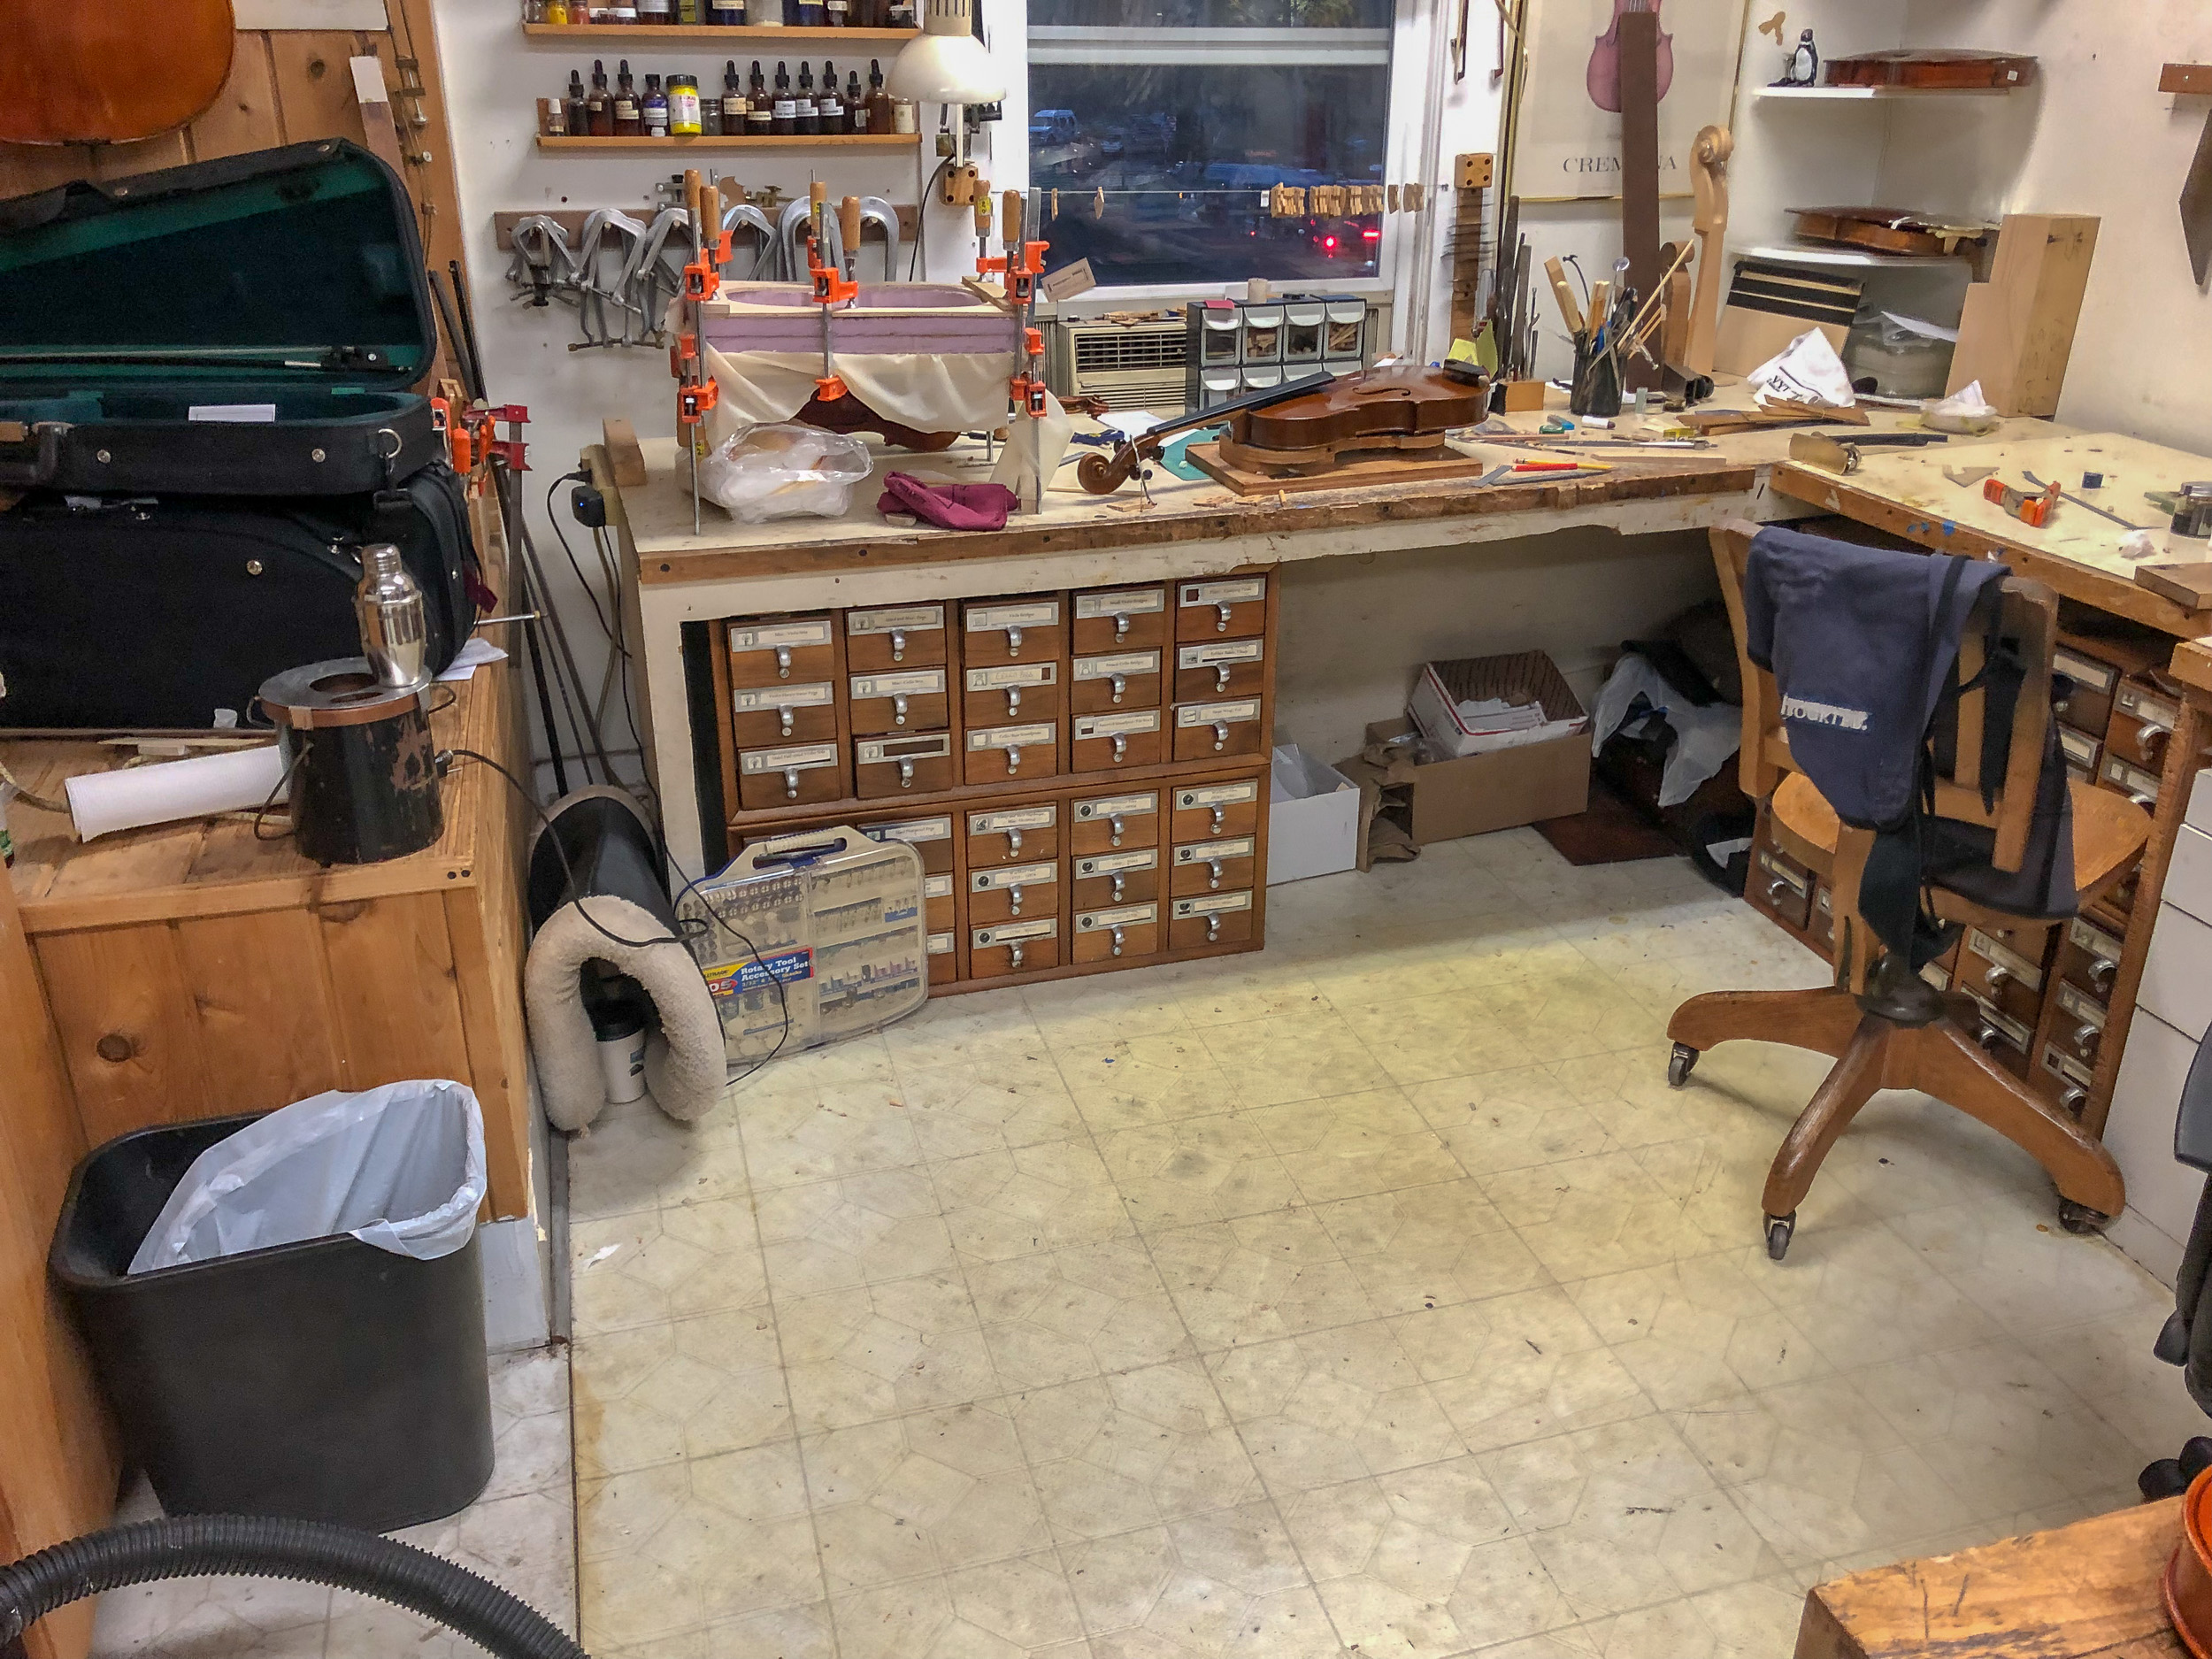
This second day of shooting took place in Andrew’s house, where he has dedicated what could be a dining room or a sitting room to a fully functional workshop. The space is not large, mostly due to the presence of a very big desk that he uses as a work bench, so I had to be careful and think about how to place the lights and the tripod.
We did a new interview, but the light was really harsh, so it was apparent to me that I wasn’t going to use this in the final short.
Still, I had the audio, in case something interesting came from there. But this also proved false, as the room had a lot of echo and my microphone placement was not close enough to prevent this from showing up in the recording.
Despite these setbacks, I was able to get many interesting shots of Andrew working on a violin back and some tools, but the overall feeling was that it was too dark and the lights too hard, so I asked him whether I could go there on a weekend, hoping for natural light to help us.
In the meantime, I continued the edit, as it was only B-roll I was missing at this point.
Post-production
Getting to a rough cut
As I still had around 5 minutes of clips, I started watching everything again and again to get a general feeling of how it was flowing. This gut-feeling approach allowed me to cut in a few more places where there was some clear disconnection that I hadn’t noticed before.
When I got to a first sub-3-minute cut, I added a temporary track of a string quartet and started working on the B-roll. Everything was more or less what I wanted, but some of the clips I took in Andrew’s house were just too bad, with the bright lights I used, casting noticeable shadows here and there.
I did go one last time to his house on a Sunday morning, just to get these extra shots in better light. I felt satisfied and hopeful. I used the macro lens to get an interesting slider shot of the scroll of one of Andrew’s violins while he was working in the background.
Adding a rough score
That same weekend, my friend the composer showed up to work on the music, and he even presented an initial track that he made before seeing any of my material. As this was also his first time composing for a film, you can attribute this to lack of experience, but the music was working only in the sense that it was 3 minutes long. It was also piano solo, which is probably the easiest way for any composer to make a quick sketch, but I was definitely interested in having a violin play the main melody.
We went over some ideas, and I tried to talk more about emotions I wanted expressed in the documentary, rather than concrete musical terms. My music vocabulary is not basic, but I’m still very far from somebody with experience in jazz improvisation, so the relationship was how it was supposed to be between director and composer.
At the same time, however, I was partially working as audio recordist while he was playing. The recorded version became the new temporary track while we figured out some finer details of the musical arrangement and saw about getting musicians to record it for real.
For the first time after a couple of weeks, I had something that was possible to watch with some resemblance to the final version. It wasn’t nearly as polished, but at least you could say “that guy makes violins”.
My original plan was to write the whole process here, but as it’s already long enough, I’ll add a second part in a few days, and possibly a third one. Topics of post-production I’m still missing are audio recording, audio mixing, sound design, color grading, some finer details of the editing, a bug in Premiere and last minute bumps. In the meantime, go and watch The Violin Maker!


